Components
Installation
The installation process is very simple. Just follow the steps below.
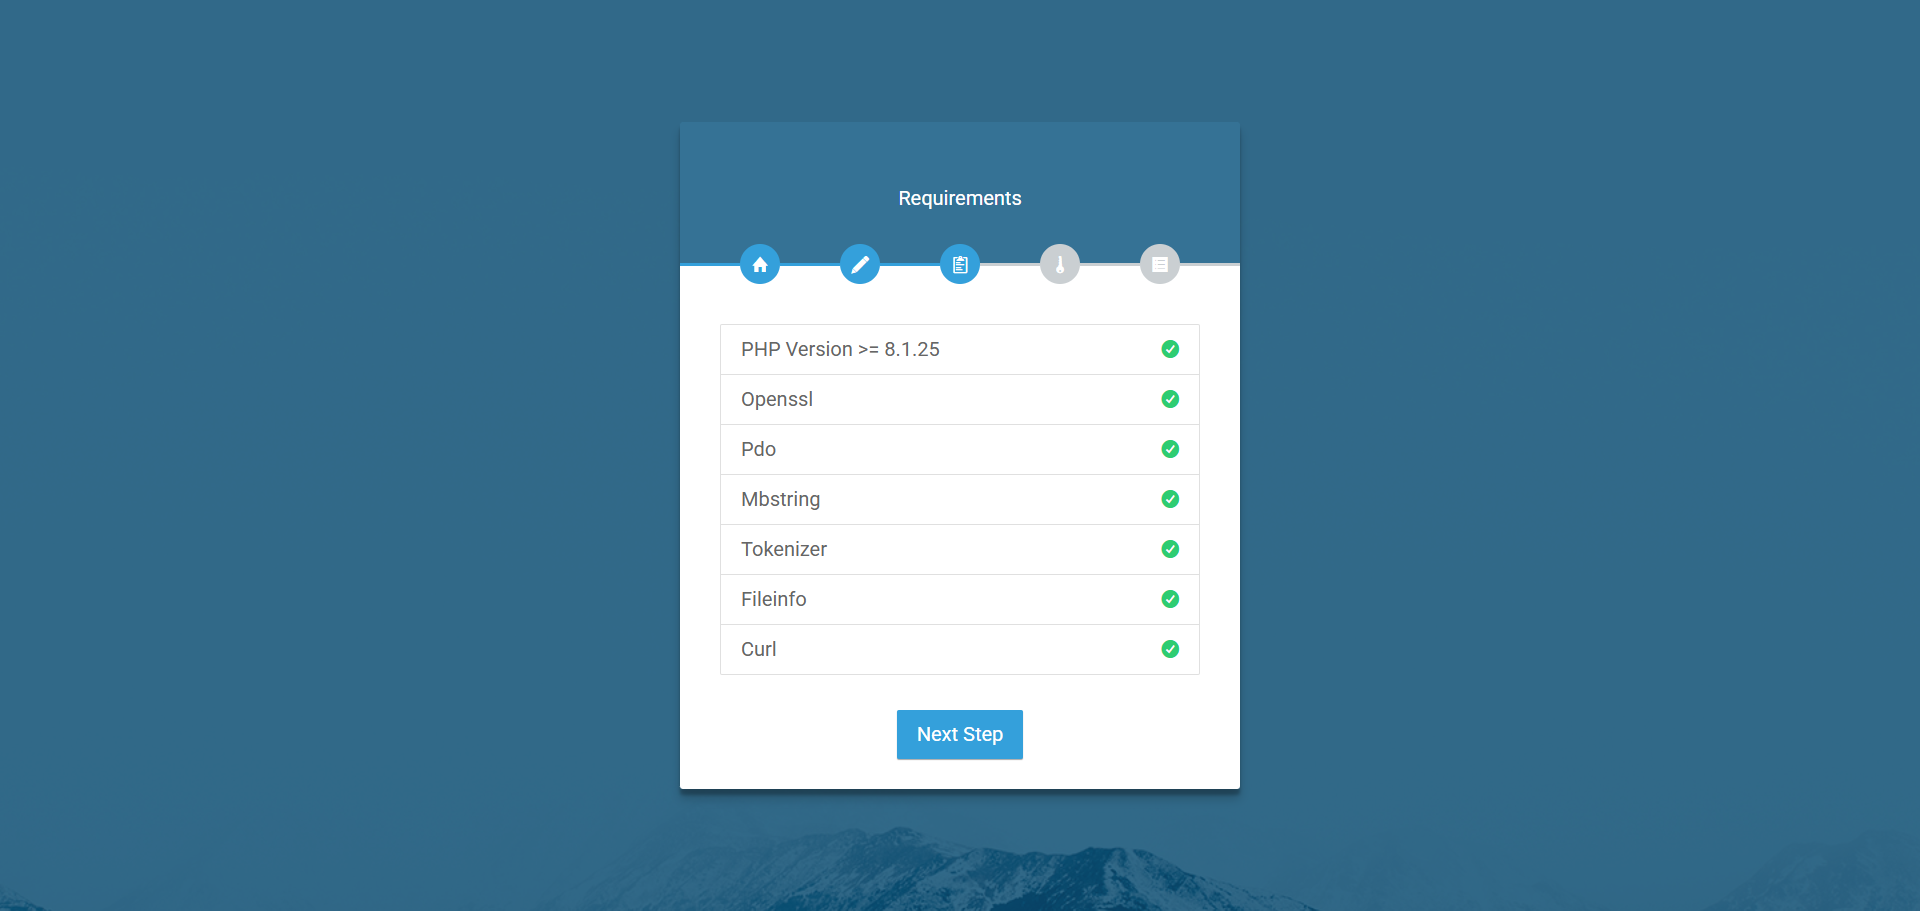
Server requirments
- PHP Version: 8.1.25 or higher.
- MySQL Version 10.4.32-MariaDB.
- Composer version 2.8.5 or higher
Database creation
To create a database on cPanel, you can follow these steps:
- Log in to your cPanel account provided by your hosting provider. You should have received the login credentials from your hosting company.
- Once logged in, search for the "Databases" section. The exact location may vary depending on the cPanel theme or version, but it is usually easily accessible from the main dashboard.
- In the "Databases" section, look for the "MySQL® Databases" or "MySQL Database Wizard" option. Click on it to proceed.
- On the next page, you will find an option to create a new database. Enter a name for your database in the provided field. It's a good practice to choose a descriptive name that relates to your project or application.
- After entering the database name, click on the "Create Database" button to create the database.
- Once the database is created, you may also need to create a database user and assign privileges to that user. Look for options like "MySQL Users" or "Add New User" in the same section or related menus.
- Provide a username and password for the database user and associate it with the newly created database. Make sure to use a strong password for security purposes.
- After creating the database user, you will have the option to assign privileges or permissions to that user. Grant the necessary privileges such as "All Privileges"
Copping files & folders
- Unzip the main.zip file that we provided.
- Upload the ride_reserve.zip file to your cPanel where you want to host it.
- Unzip the ride_reserve.zip file in your cPanel directory.
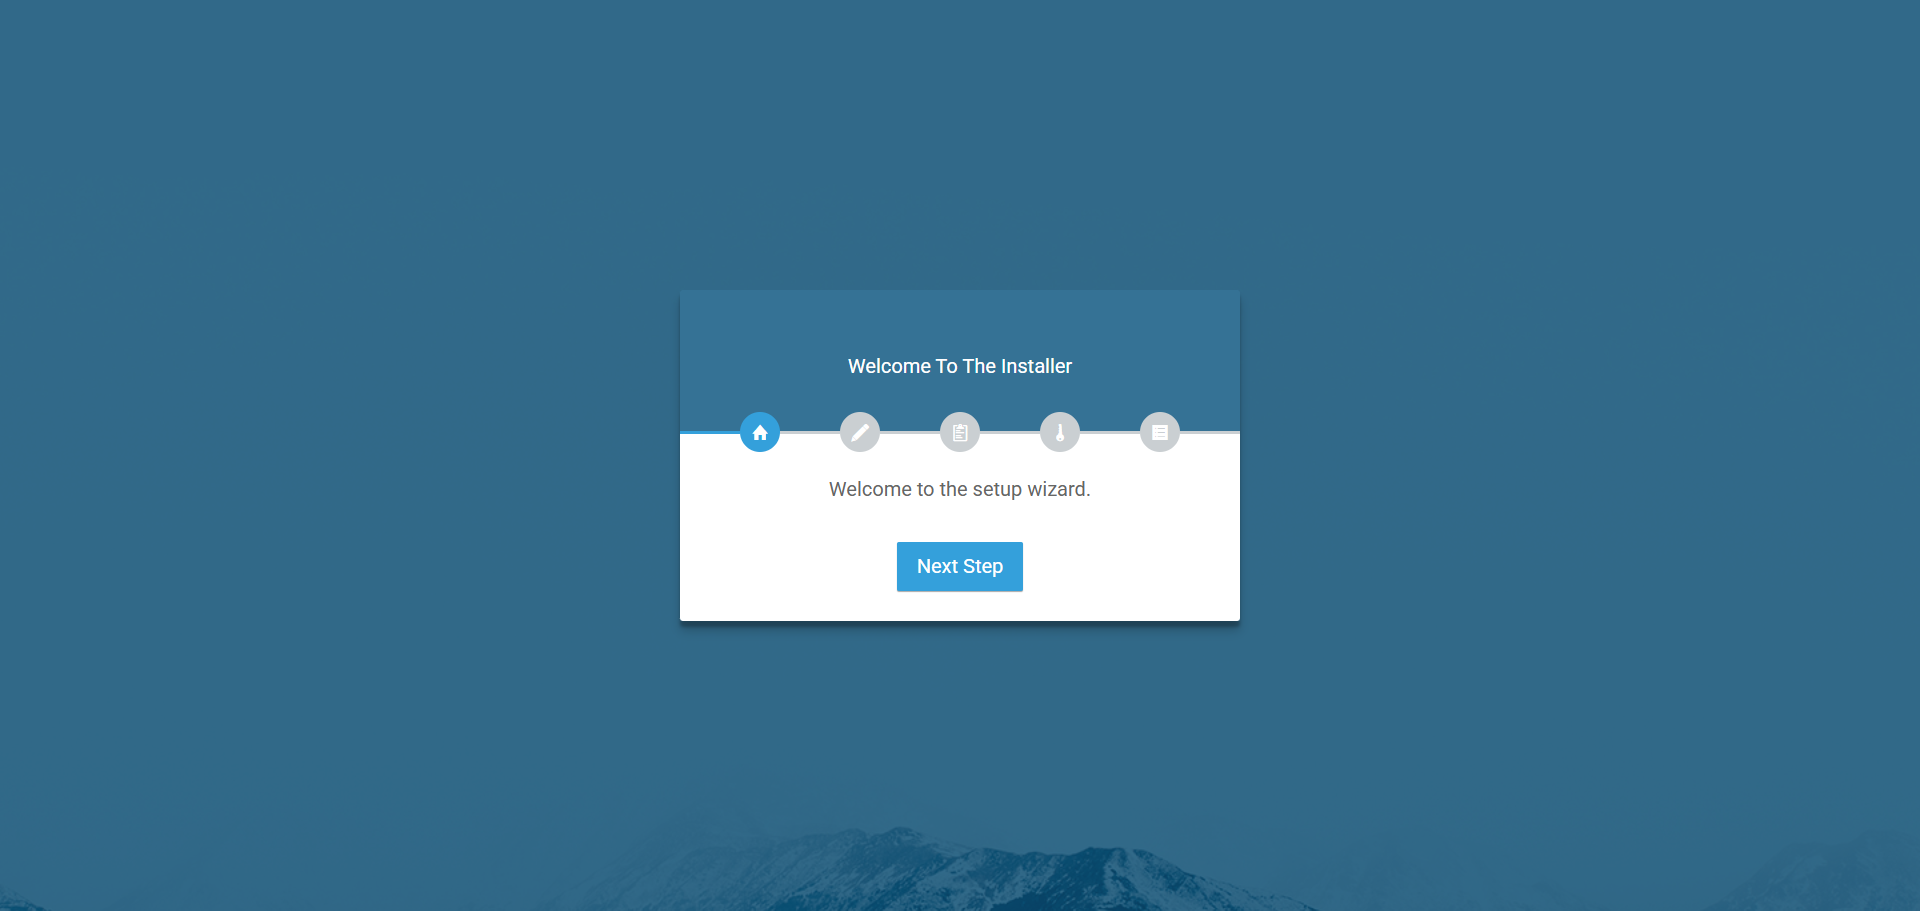
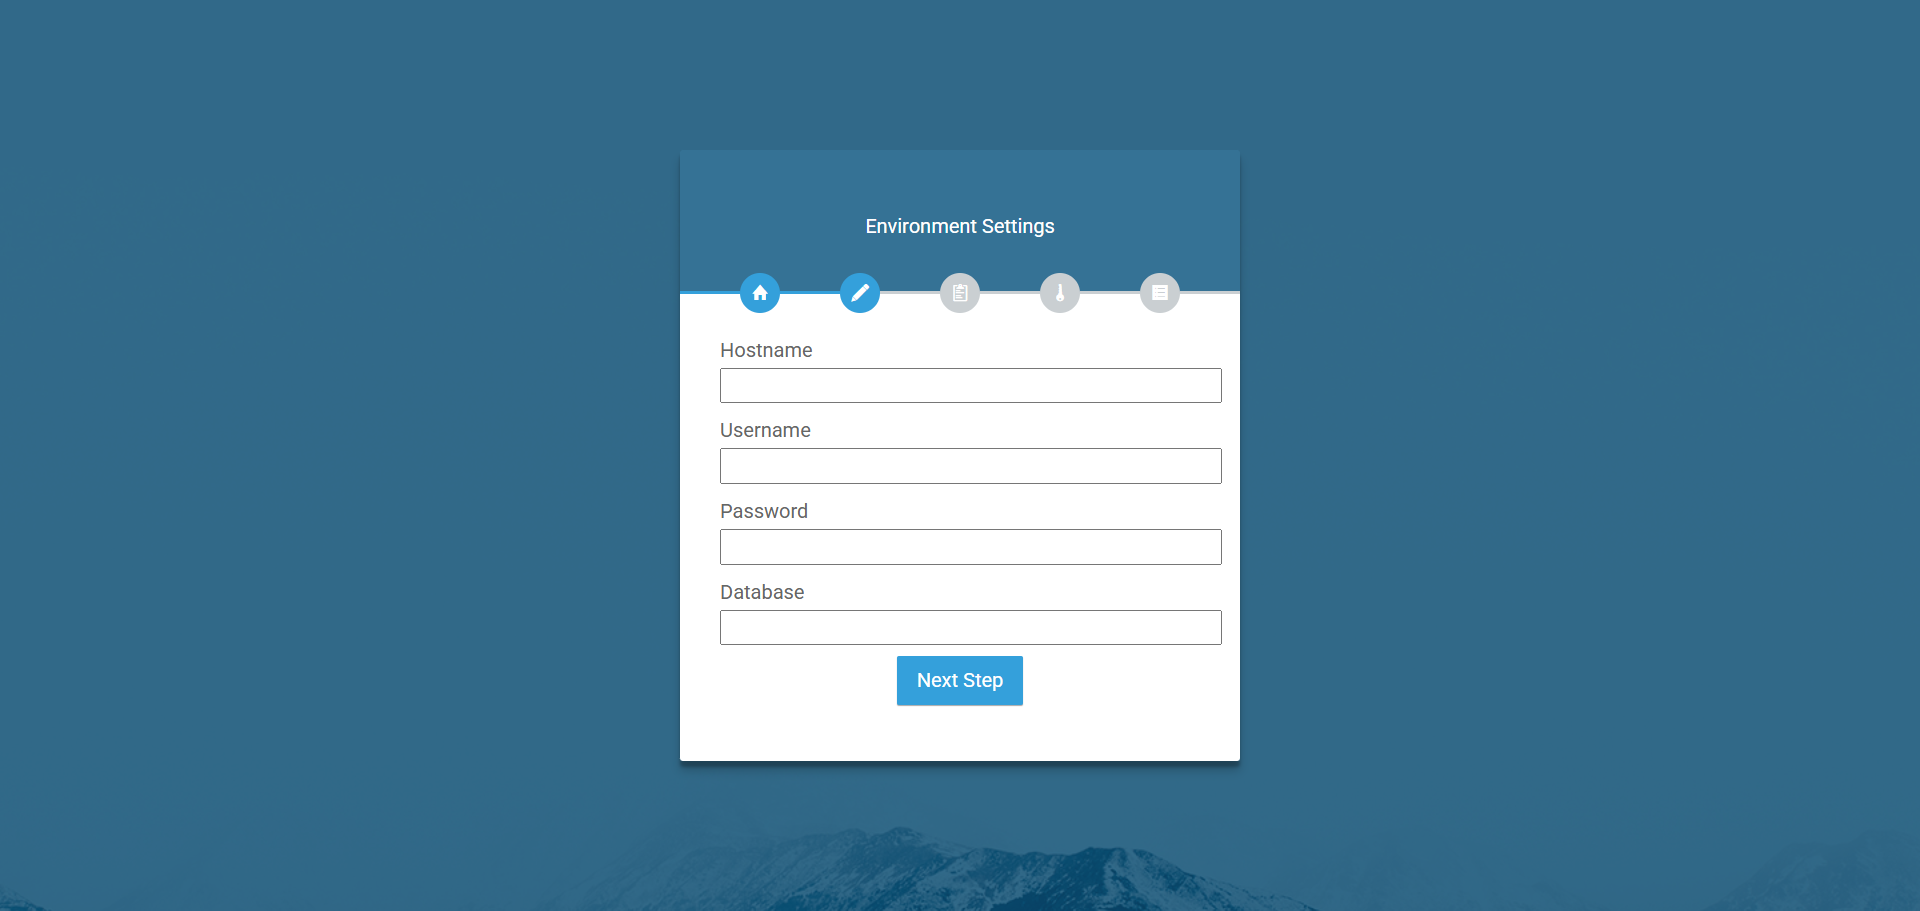
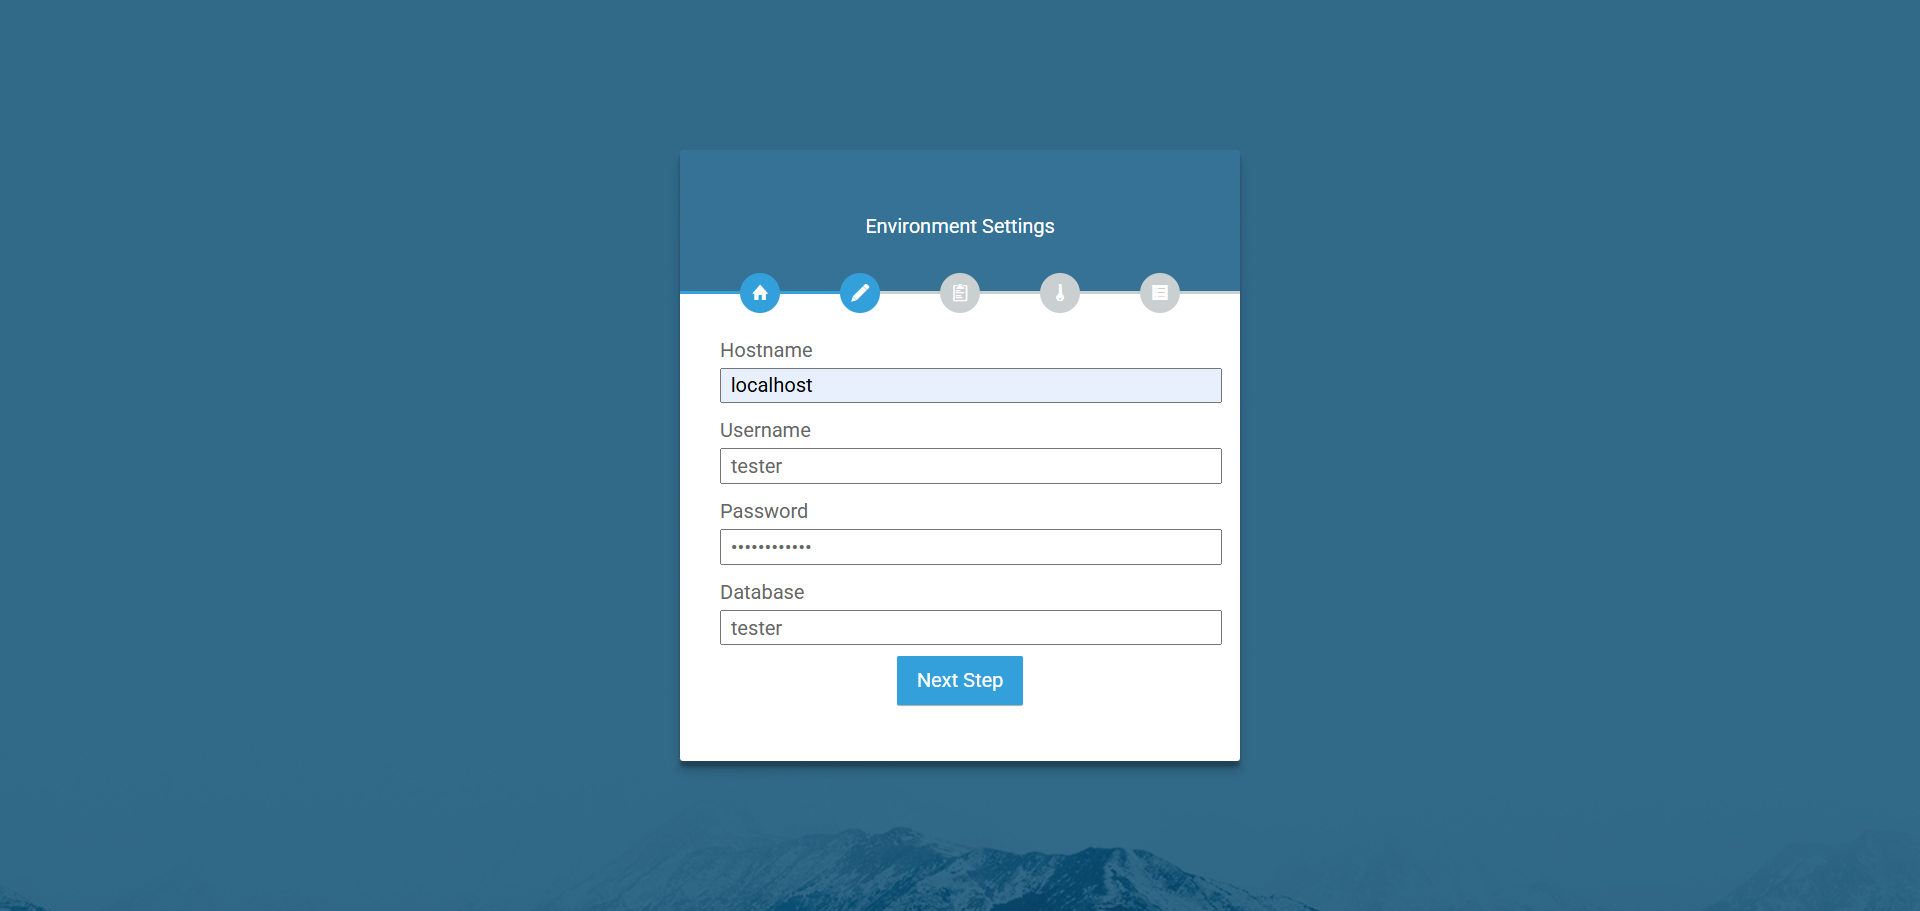
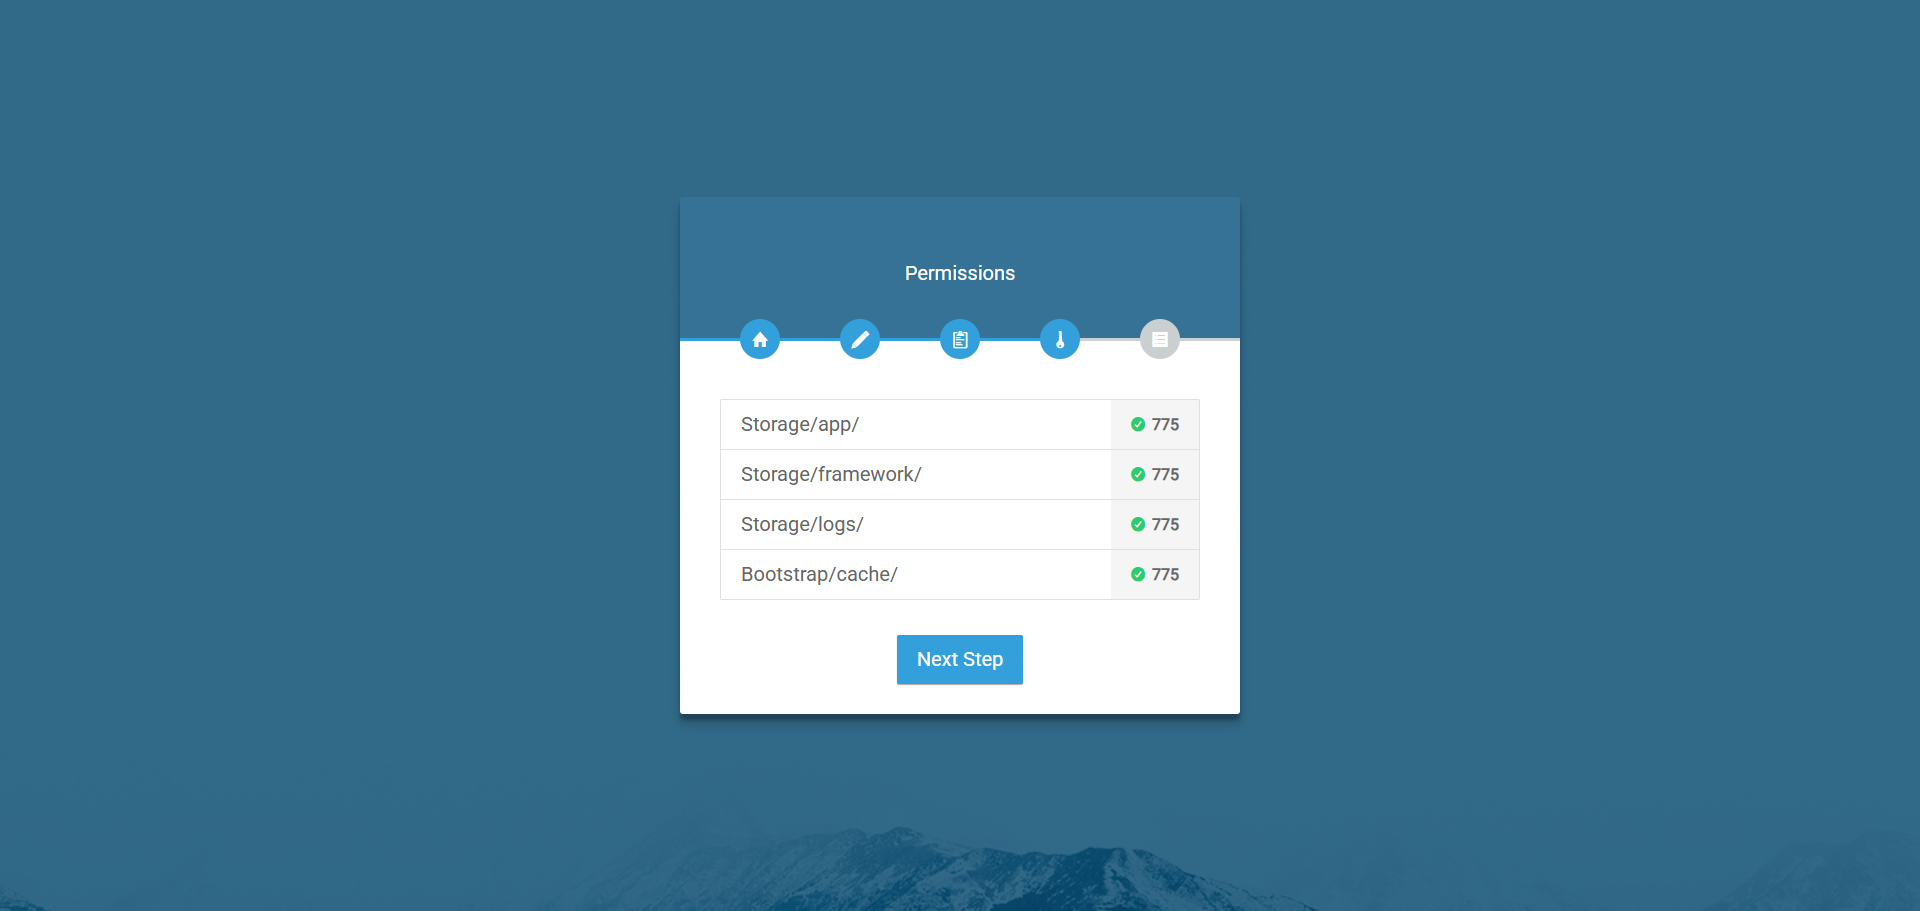
Follow a few steps.
Go to your application url.
You can see screenshot below.
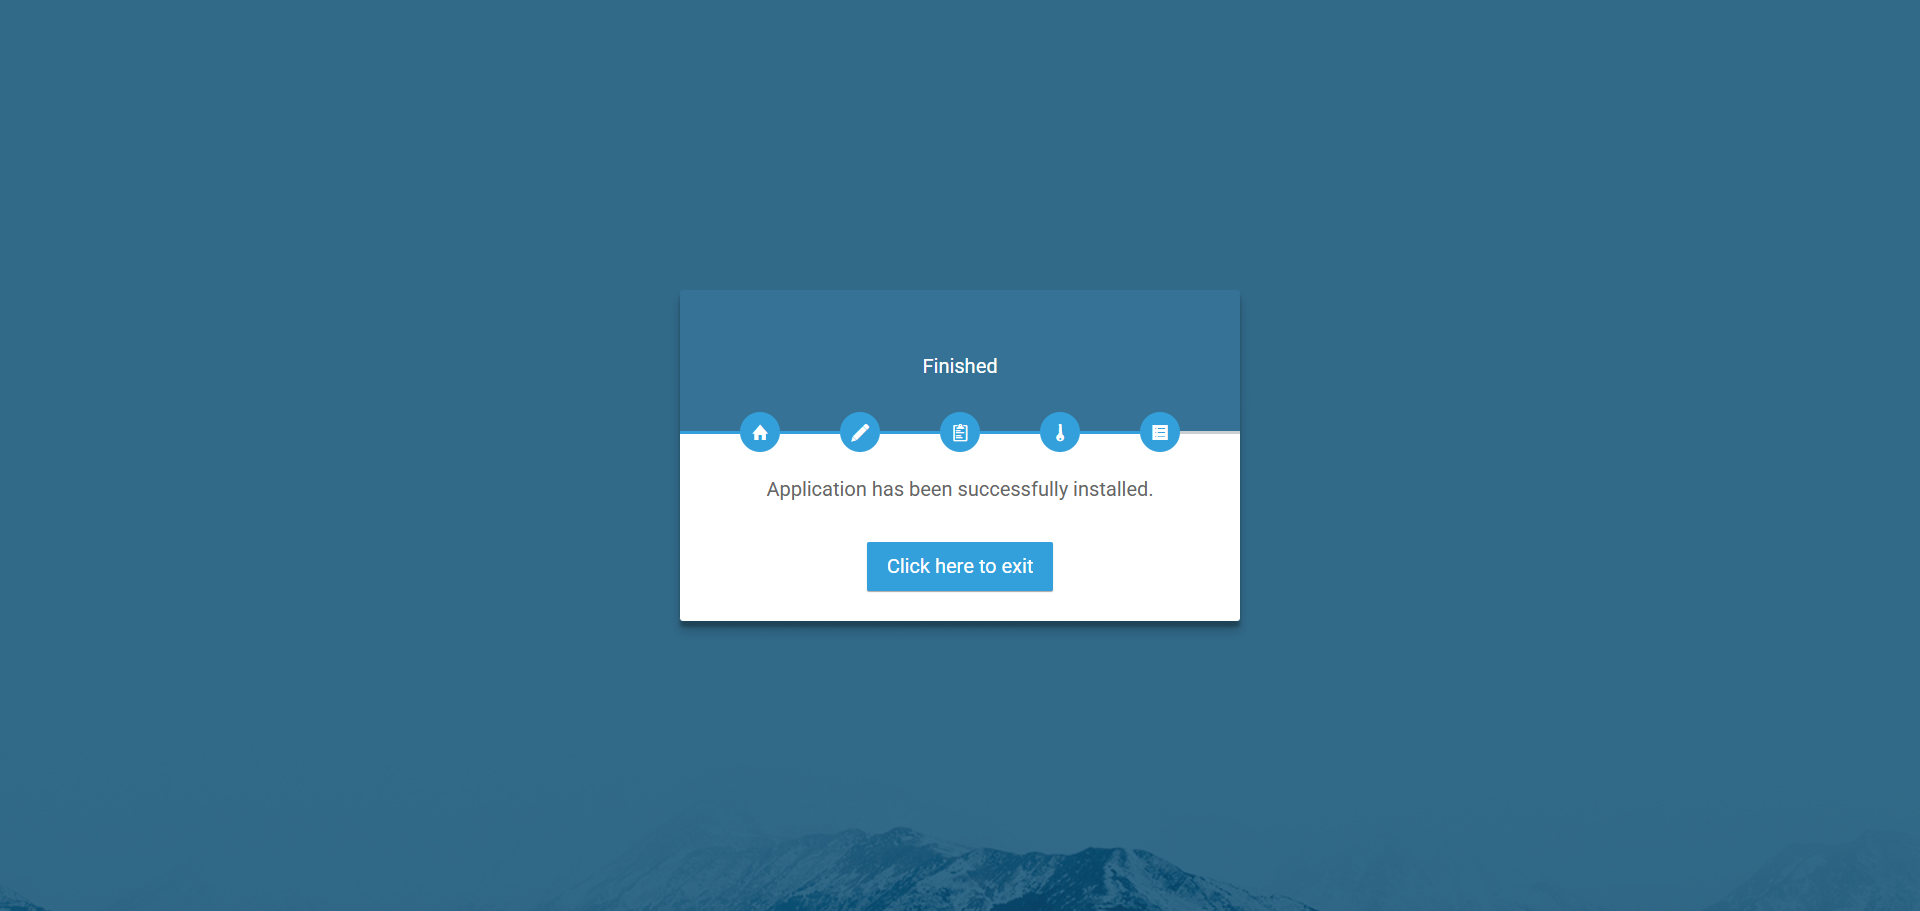
Login credentials:
Username: superadmin@eaccount.xyz
Password: SuperAdminSecret
BI Dashboard
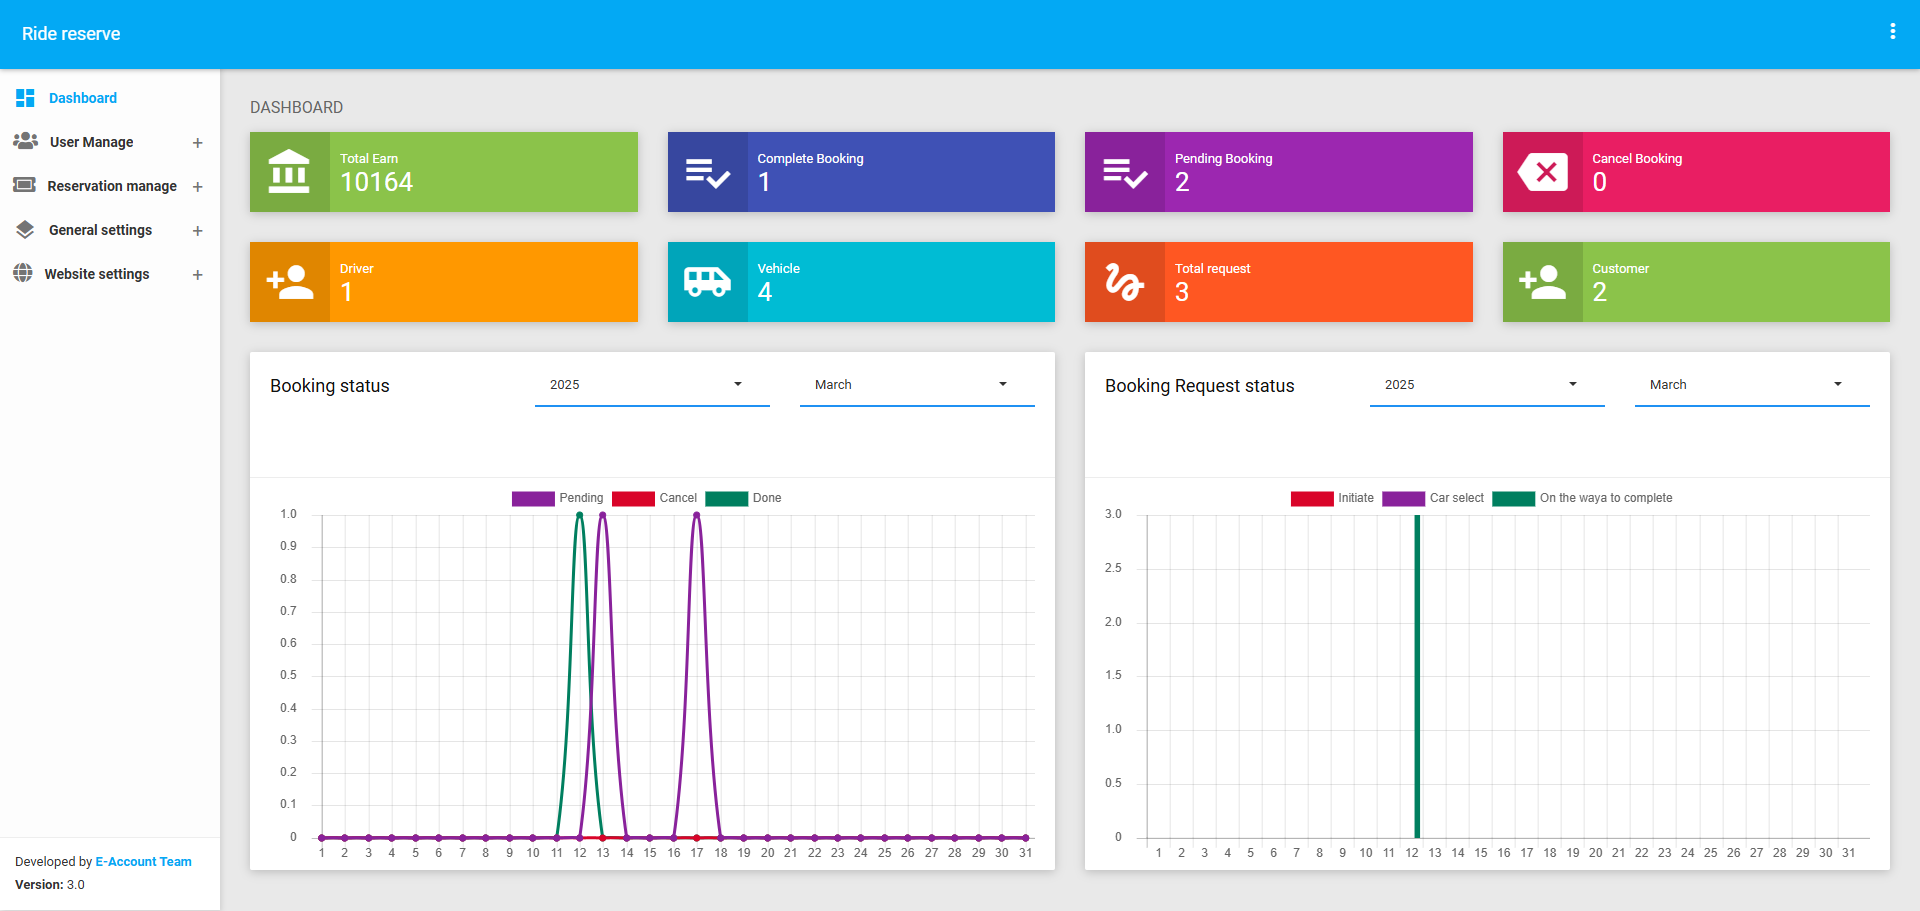
The BI Dashboard is a powerful module that provides a visual and analytical overview of the application's key performance metrics. It includes important information such as total earnings, booking statuses (complete, canceled, pending), and counts of drivers, vehicles, requests, and customers. Additionally, it features two significant graphs for daily booking requests and daily booking status. This module is designed to help administrators monitor and analyze the application's performance at a glance.
Total Earnings- Description: Displays the total revenue generated by the application from completed bookings.
- Purpose: Helps administrators track the financial performance of the application.
- Complete Bookings: Shows the total number of bookings that have been successfully completed.
- Canceled Bookings: Displays the total number of bookings that have been canceled.
- Pending Bookings: Shows the total number of bookings that are still pending or awaiting confirmation.
- Purpose: Provides insights into booking trends and helps identify areas for improvement.
- Drivers: Displays the total number of drivers registered in the system.
- Vehicles: Shows the total number of vehicles available for booking.
- Requests: Displays the total number of booking requests received.
- Customers: Shows the total number of customers registered in the system.
- Purpose: Provides a snapshot of the application's resources and user base.
The Graphs Section provides visual representations of key trends and patterns in the application's data. It includes two significant graphs:
Daily Booking Requests- Description: A line or bar graph that shows the number of booking requests received daily over a specific period.
- Purpose: Helps administrators identify peak booking periods and trends in customer demand.
- Description: A stacked bar chart that shows the daily breakdown of booking statuses (complete, canceled, pending).
- Purpose: Provides insights into the daily performance of bookings and helps identify issues such as high cancellation rates.
User Manage
The User Management module is a crucial part of the application backend, allowing administrators to manage users, languages, and role-based permissions. It includes four main sections: User, Language, Language Configure, and Role. This module ensures that user access, language preferences, and permissions are properly managed and configured.
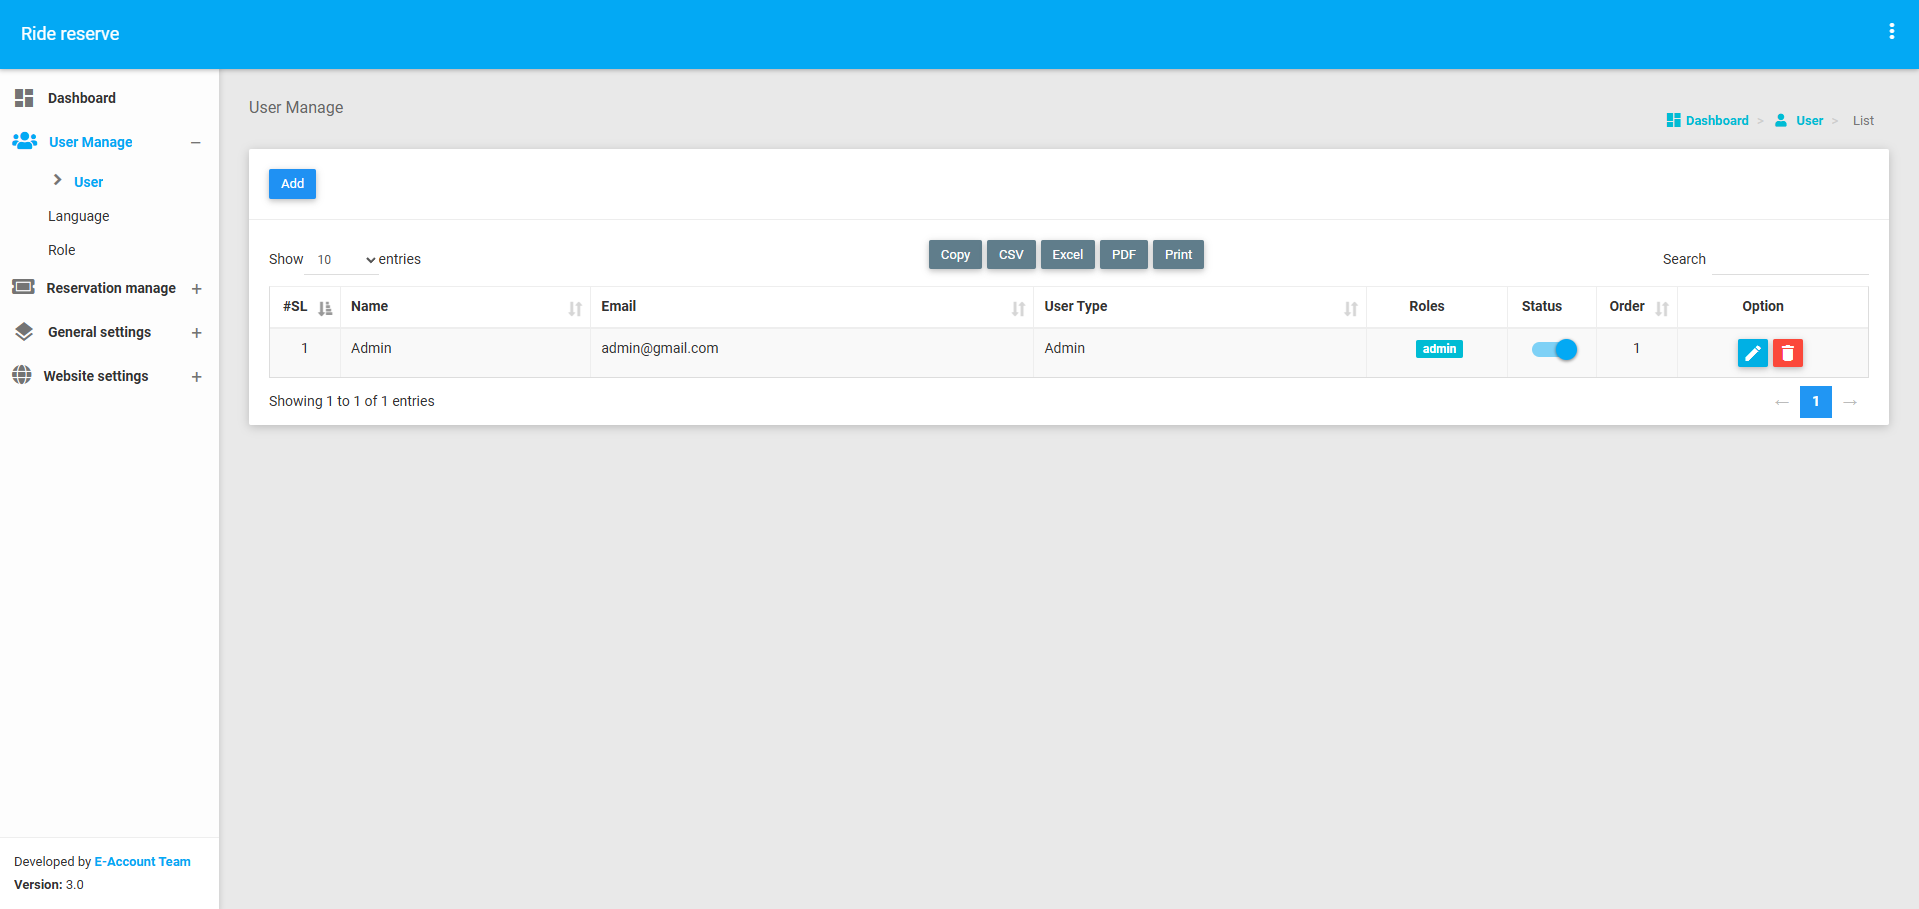
User
The User Section allows administrators to manage user accounts, particularly admin users. Key functionalities include:
- Adding a User: Admins can add new users by providing details such as name, email, password, and role.
- Editing a User: Admins can update or modify user details, including role and permissions.
- Viewing User List: Admins can view a list of all users along with their details.
- Deleting a User: Admins can remove a user if they no longer require access.
This section ensures that only authorized users have access to the application backend.
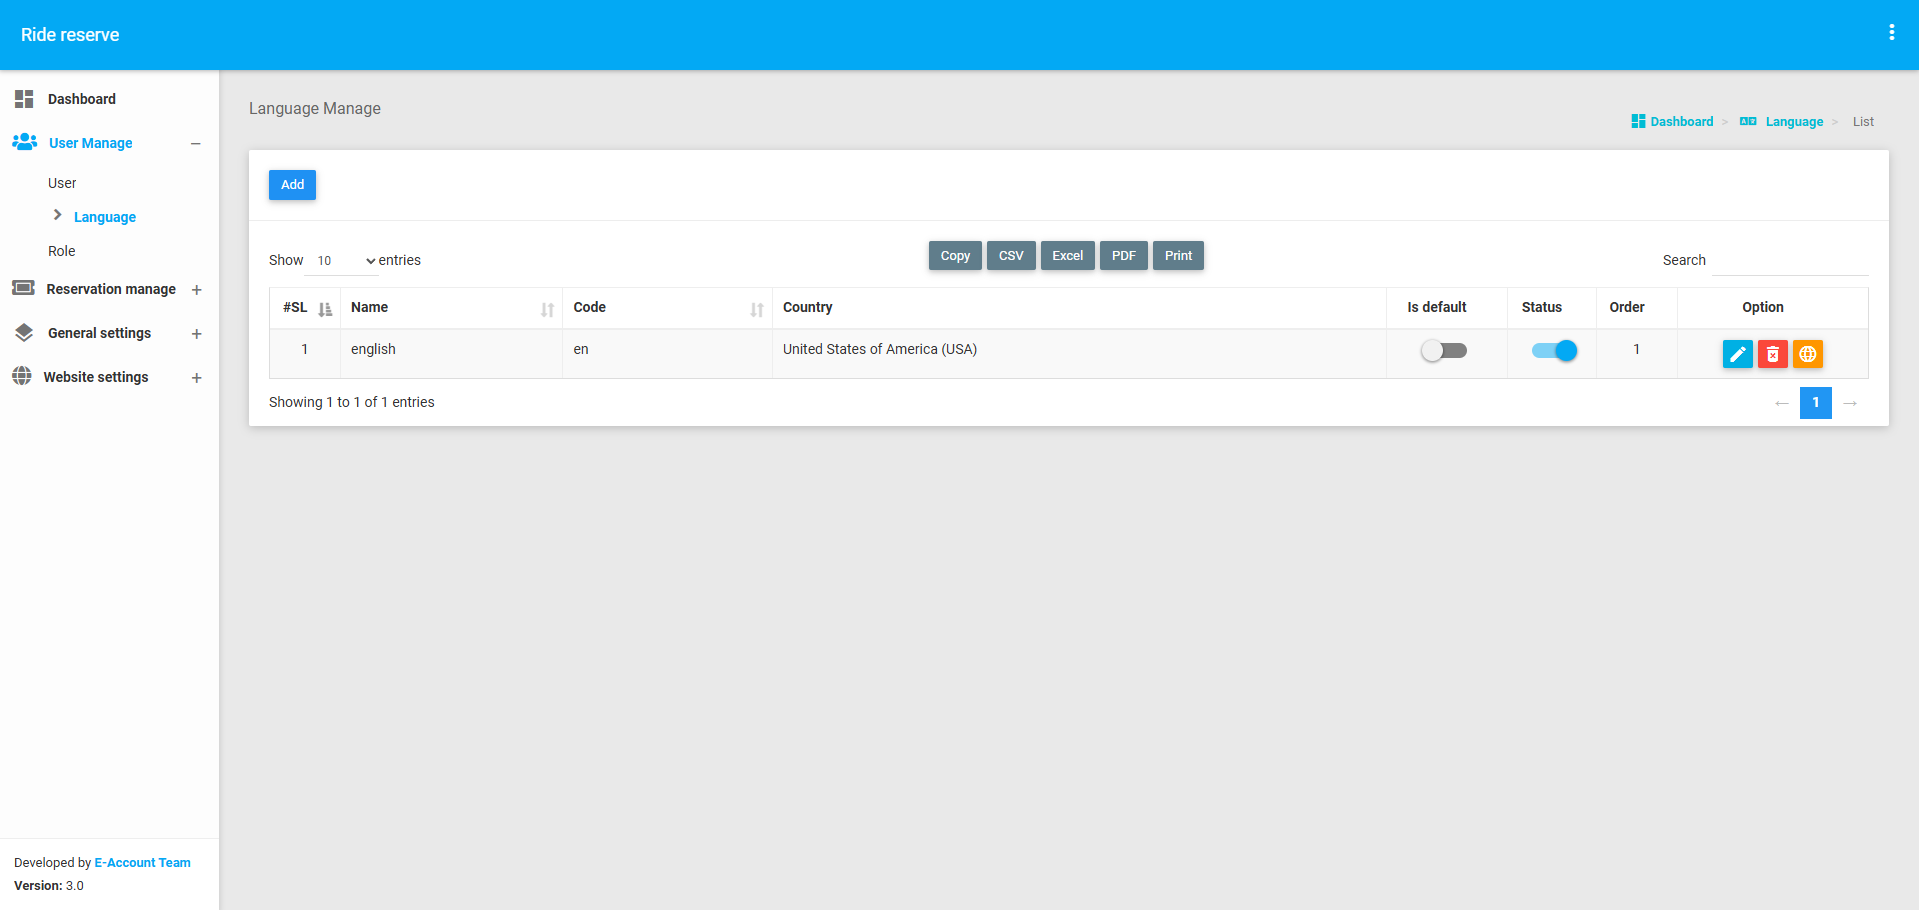
Language
The Language Section allows administrators to add and manage multiple languages for the application. Key functionalities include:
- Adding a Language: Admins can add new languages by providing details such as language name and code.
- Editing a Language: Admins can update or modify language details as needed.
- Viewing Language List: Admins can view a list of all added languages.
- Deleting a Language: Admins can remove a language if it is no longer needed.
This section ensures that the application supports multiple languages, enhancing its accessibility for users worldwide.
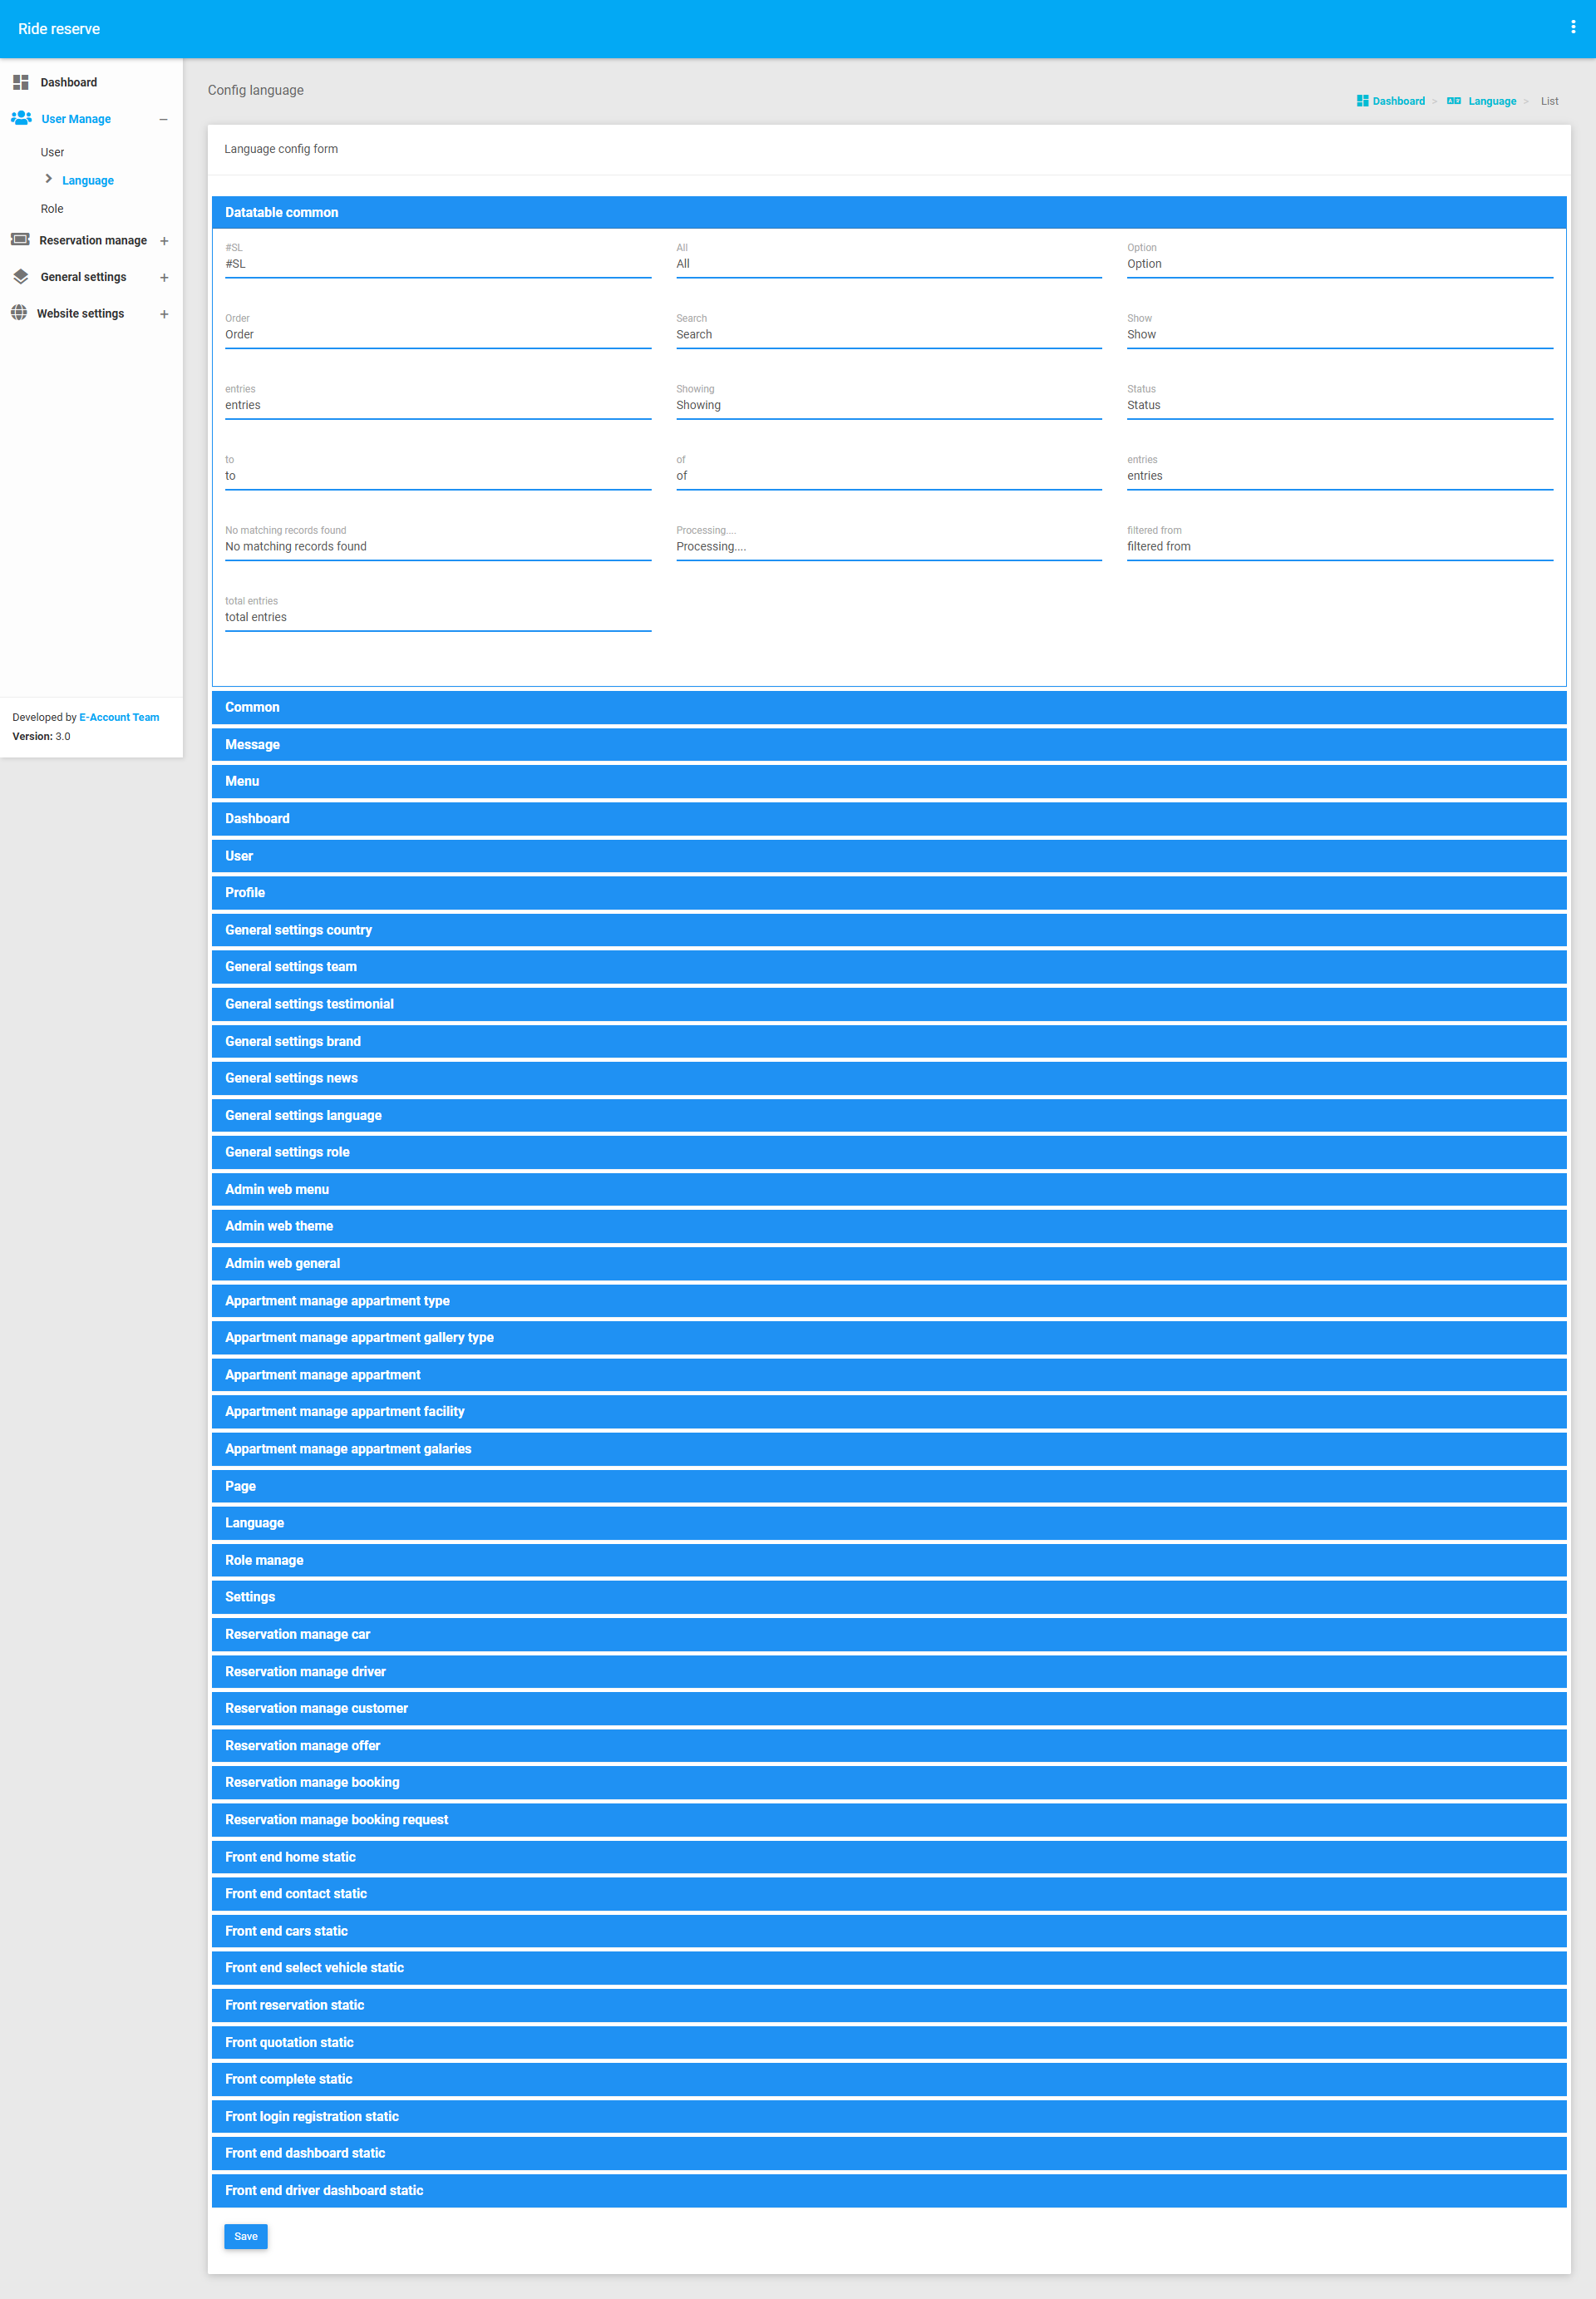
Language Configure
The Language Configure Section allows administrators to configure language-specific text for the application. Key functionalities include:
- Setting Language Text: Admins can define or translate text for each language added in the Language Section.
- Editing Language Text: Admins can update or modify language-specific text as needed.
- Viewing Configured Languages: Admins can view a list of all configured languages along with their text.
This section ensures that the application's content is properly translated and displayed in the selected language.
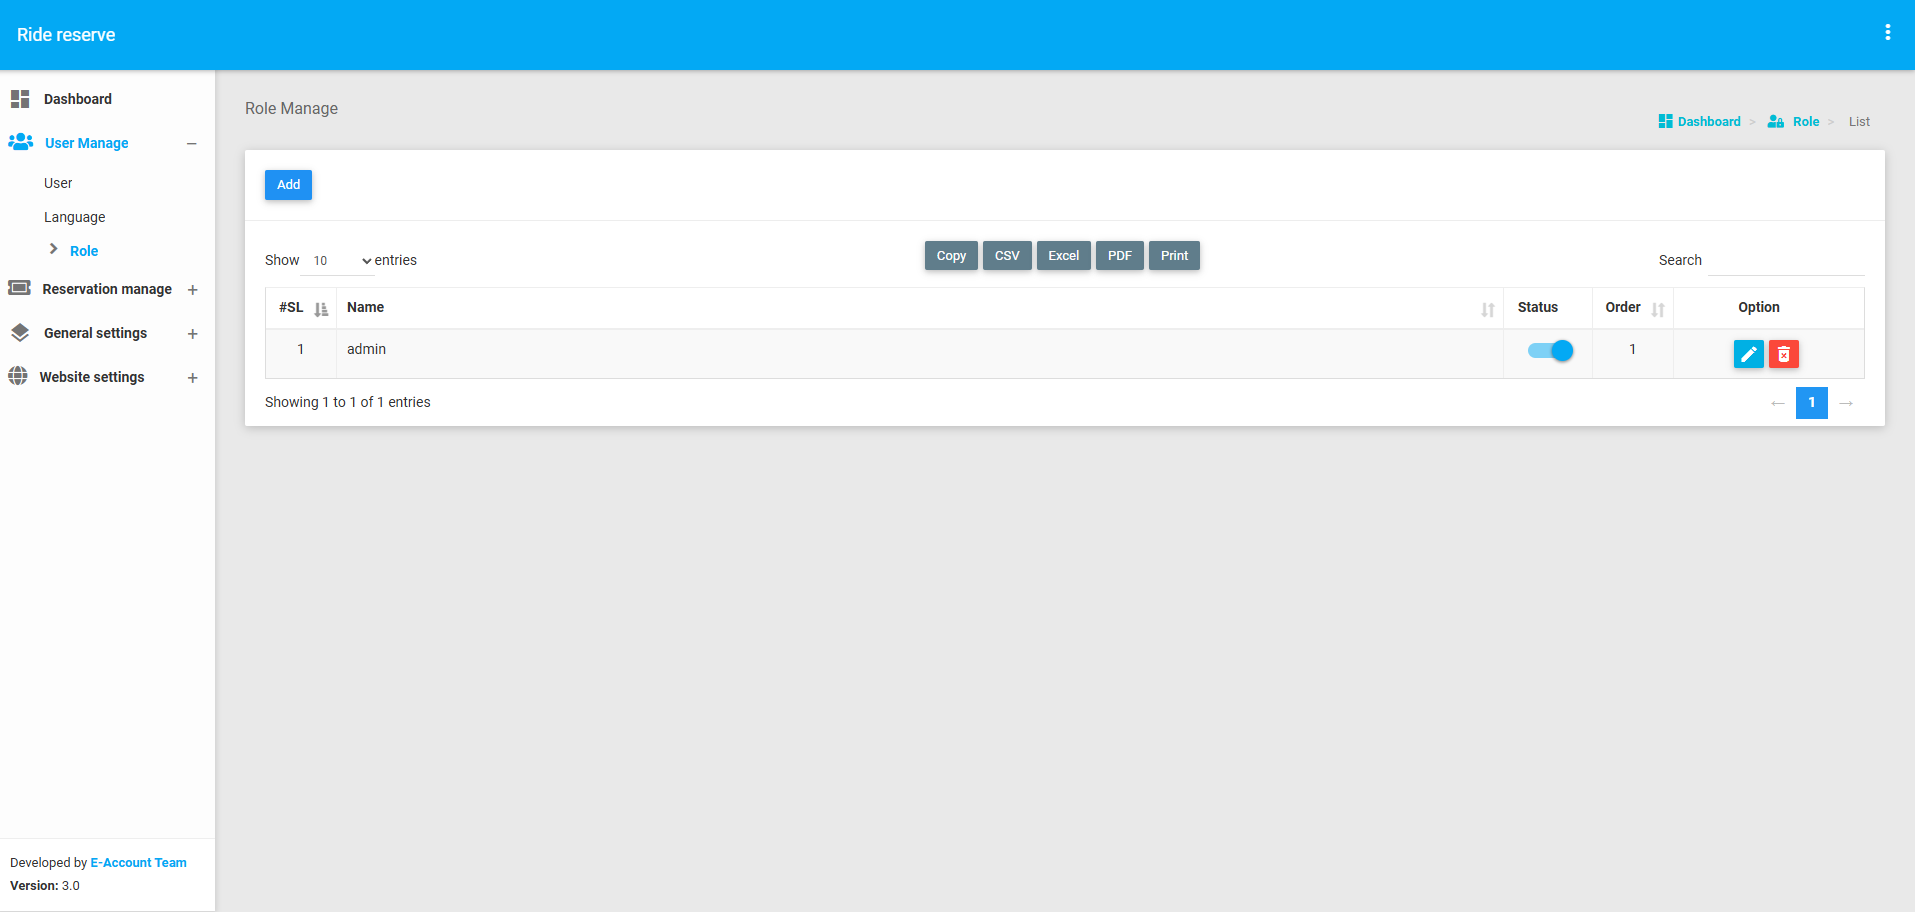
Role
The Role Section allows administrators to manage role-based permissions for users. Key functionalities include:
- Creating a Role: Admins can create new roles by defining a role name and assigning specific permissions.
- Editing a Role: Admins can update or modify role details, including permissions.
- Viewing Role List: Admins can view a list of all roles along with their assigned permissions.
- Deleting a Role: Admins can remove a role if it is no longer needed.
- Assigning Roles to Users: Admins can assign roles to users in the User Section, ensuring that users have the appropriate permissions.
This section ensures that users have access only to the functionalities they are authorized to use.
Reservation Manage
The Reservation Management module is a core component of the application backend, designed to manage car reservations, drivers, offers, customers, and bookings. It allows administrators to efficiently handle all aspects of car reservations, from adding cars and drivers to creating offers and managing customer bookings. This module ensures seamless coordination between cars, drivers, and customers, enabling smooth operations for the reservation system.
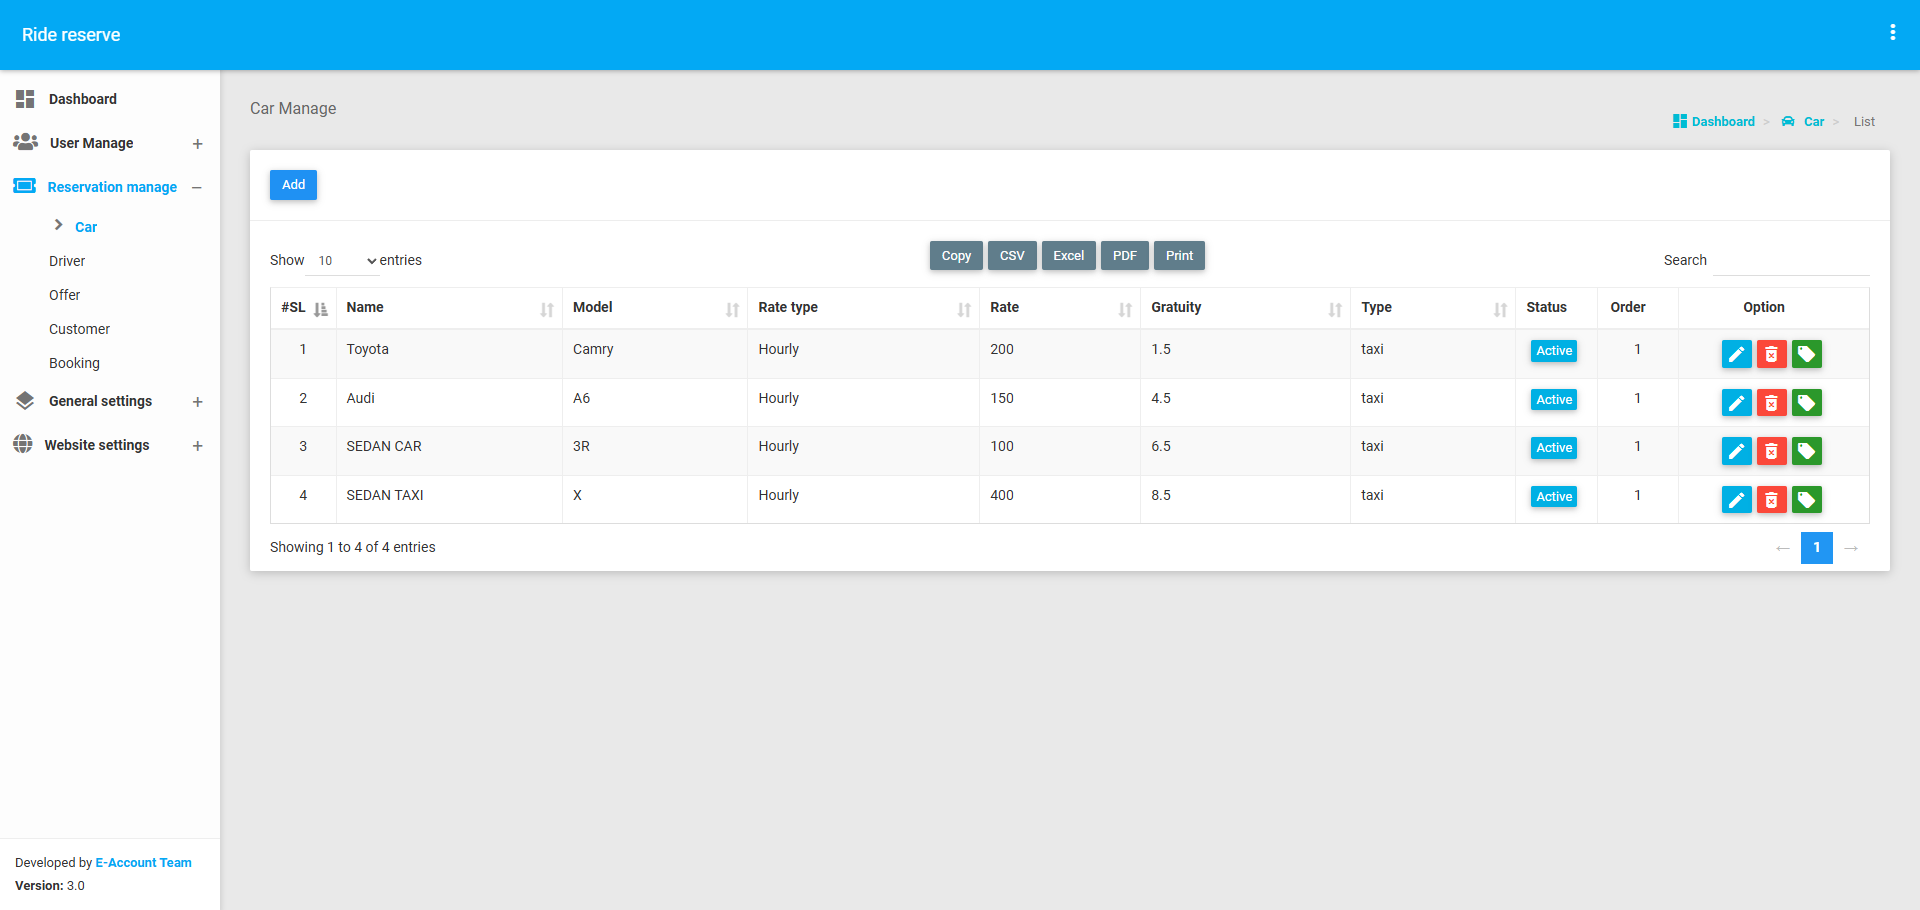
Car
The Car Section allows administrators to add and manage car details. Key functionalities include:
- Adding a Car: Admins can add new cars by providing details such as car name, model, rate, and other relevant information.
- Updating Car Information: Admins can edit or update car details as needed.
- Assigning Offers: Admins can assign specific offers to individual cars.
- Viewing Car List: Admins can view a list of all available cars along with their details.
This section ensures that all car-related information is up-to-date and accessible for reservation purposes.
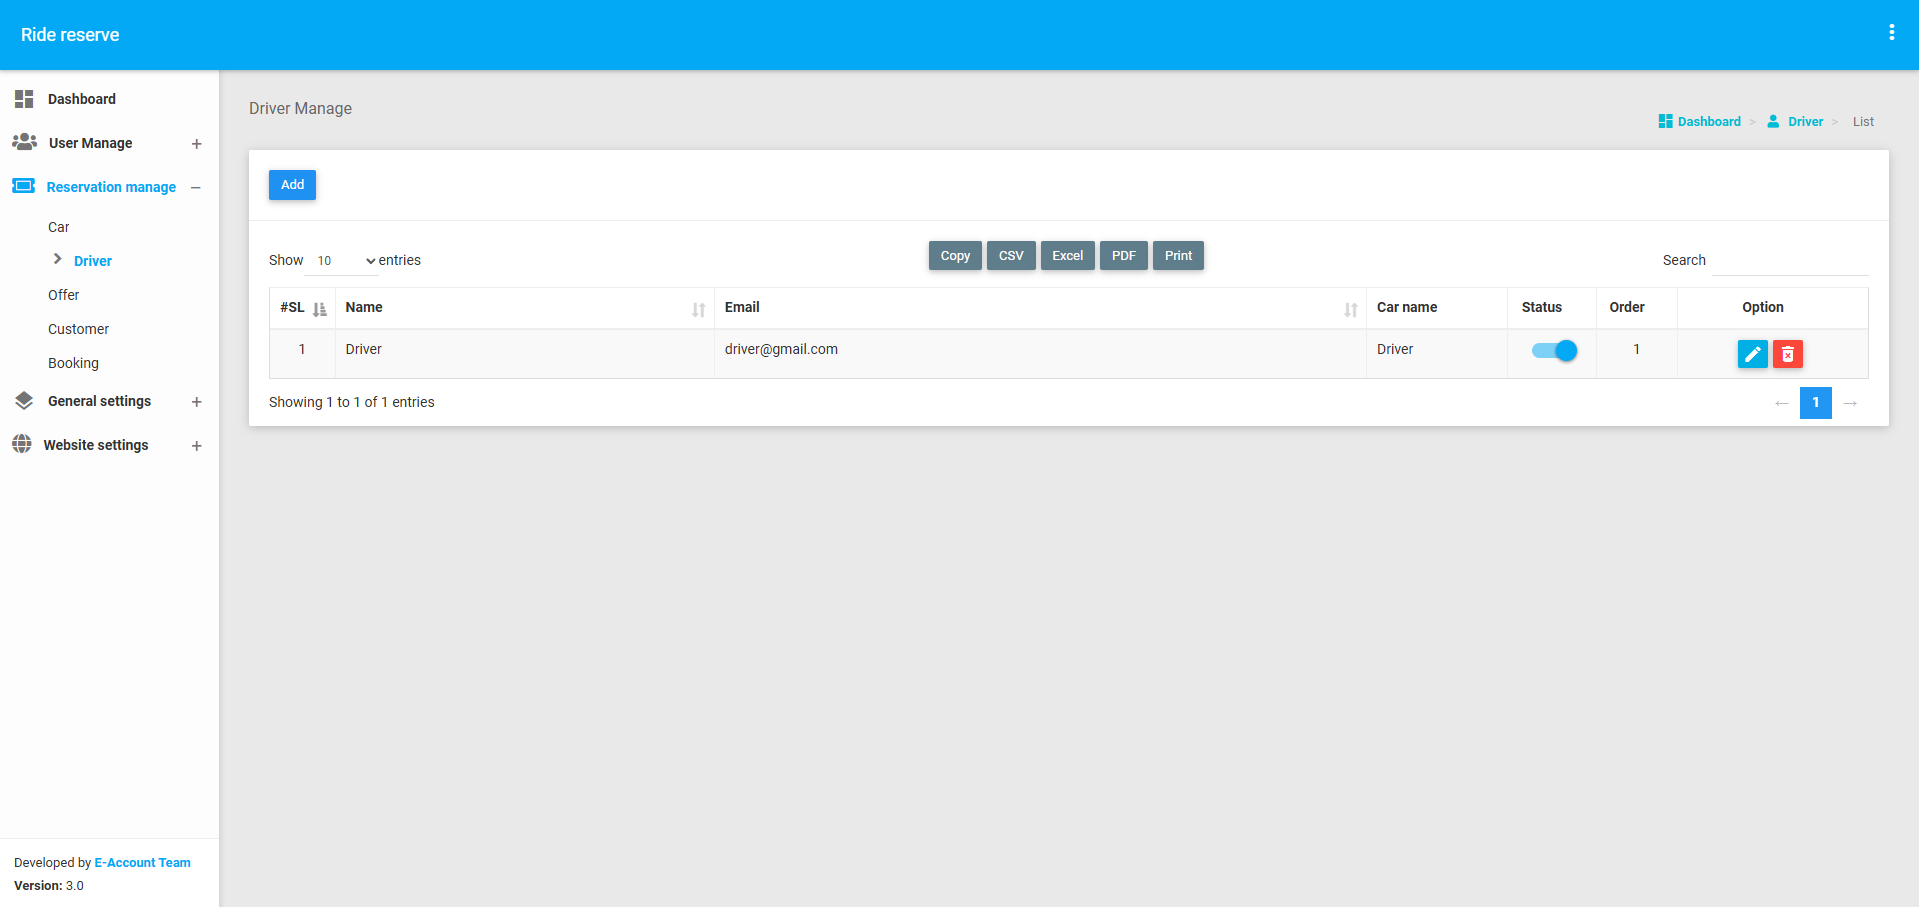
Driver
The Driver Section enables administrators to manage driver details and assign drivers to specific cars. Key functionalities include:
- Adding a Driver: Admins can add new drivers by providing their name, contact information, and other relevant details.
- Assigning Drivers to Cars: Admins can assign a driver to a specific car for reservation purposes.
- Viewing Driver List: Admins can view a list of all drivers along with their assigned cars.
This section ensures that drivers are properly assigned to cars, enabling smooth operations during reservations.
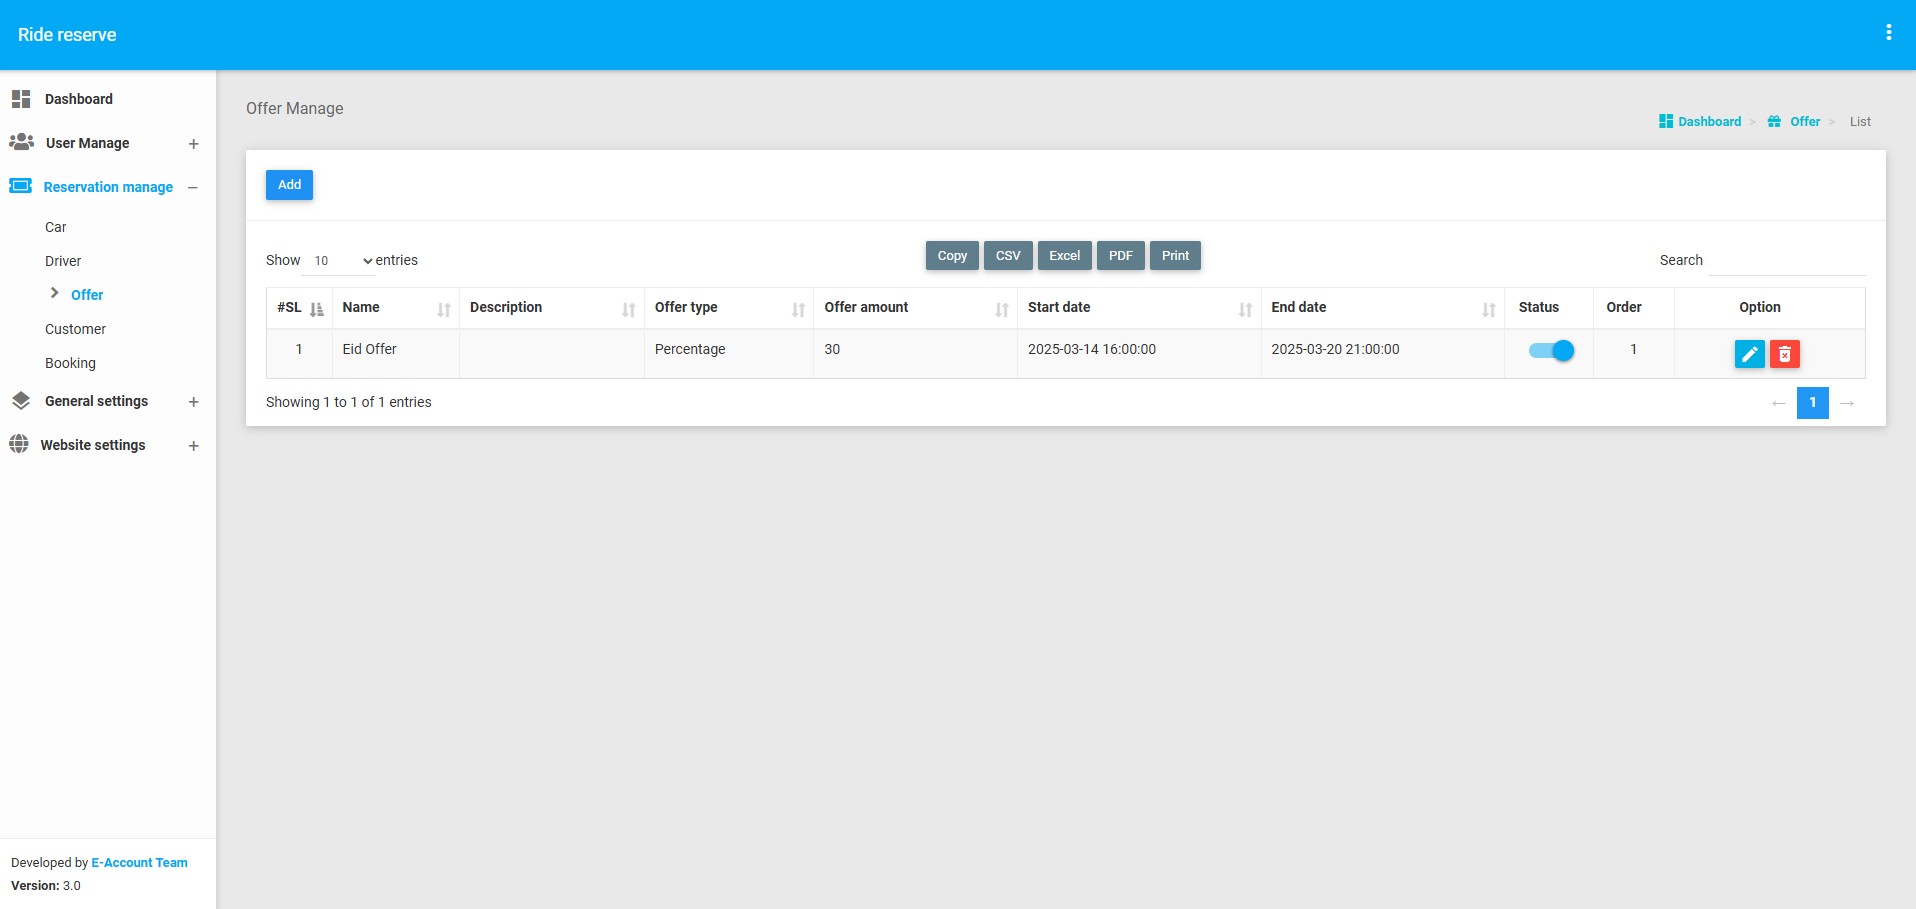
Offer
The Offer Section allows administrators to create and manage offers for cars. Key functionalities include:
- Creating an Offer: Admins can create offers by providing details such as offer name, duration, price (flat or fixed), and other relevant information.
- Assigning Offers to Cars: Admins can assign offers to specific cars or apply them to all cars at once.
- Viewing Offer List: Admins can view a list of all available offers along with their details.
This section helps in attracting customers by providing them with attractive offers for car reservations.
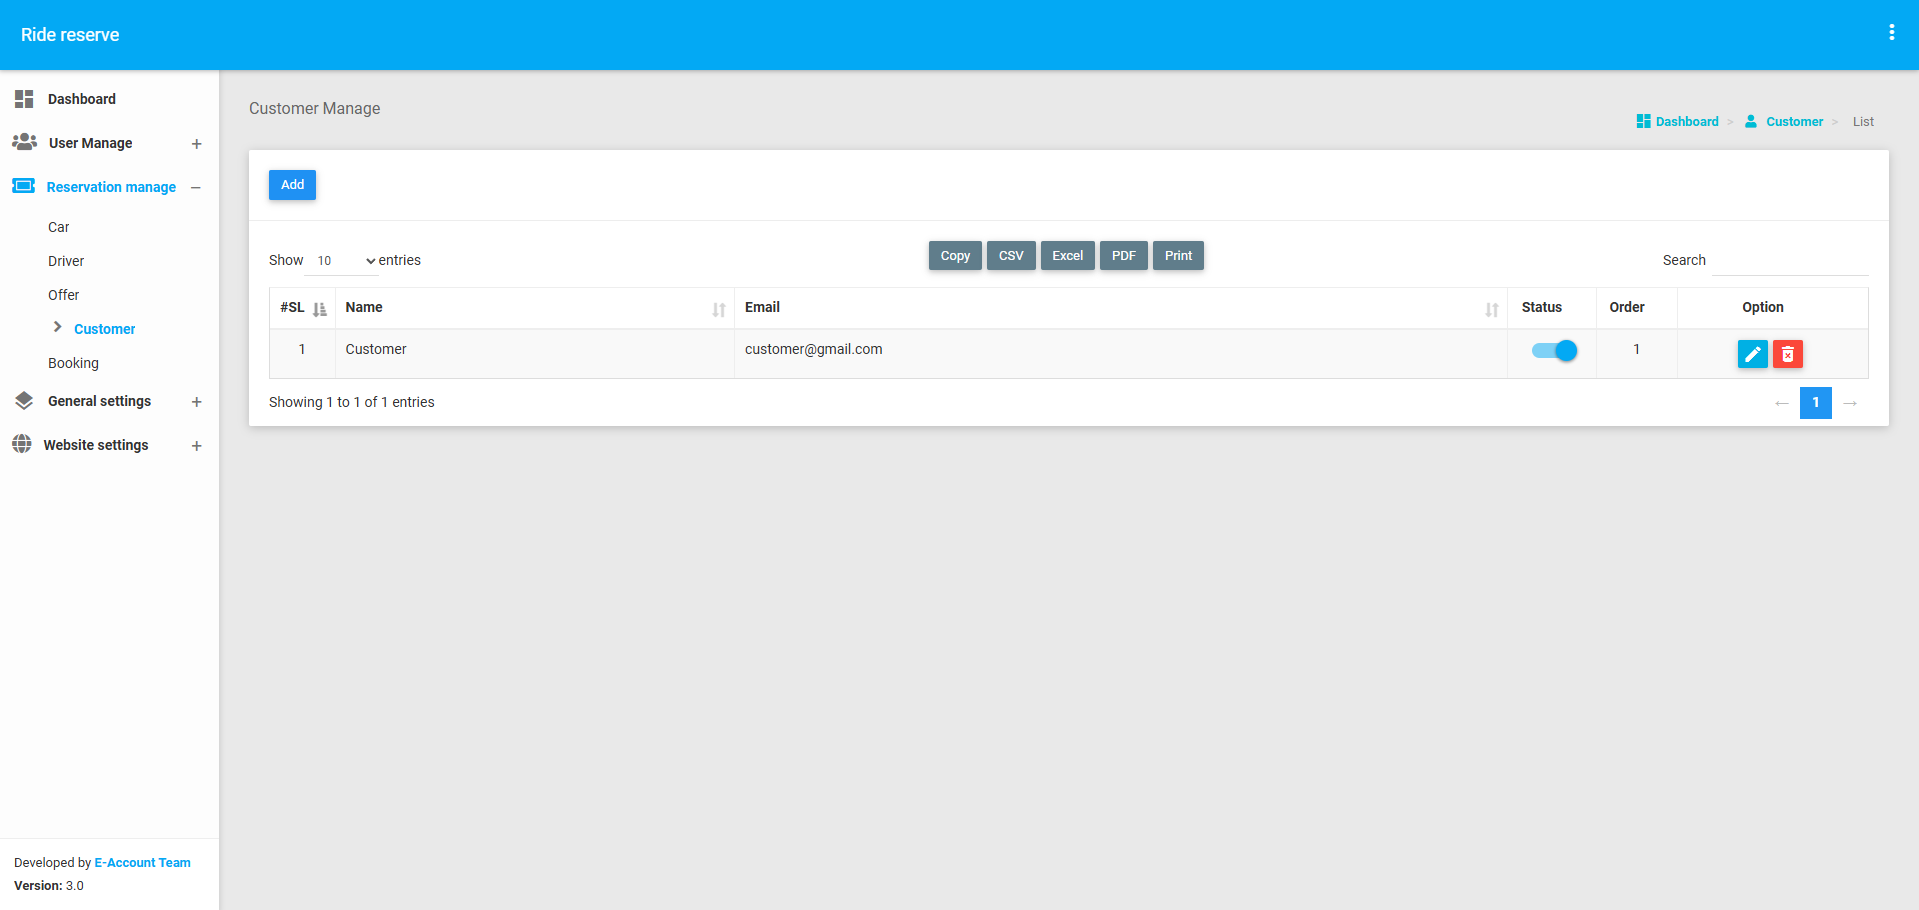
Customer
The Customer Section allows administrators to manage customer information. Key functionalities include:
- Adding a Customer: Admins can add new customers by providing their name, contact information, and other relevant details.
- Viewing Customer List: Admins can view a list of all customers along with their details.
- Updating Customer Information: Admins can edit or update customer details as needed.
This section ensures that customer information is properly maintained and accessible for reservation purposes.
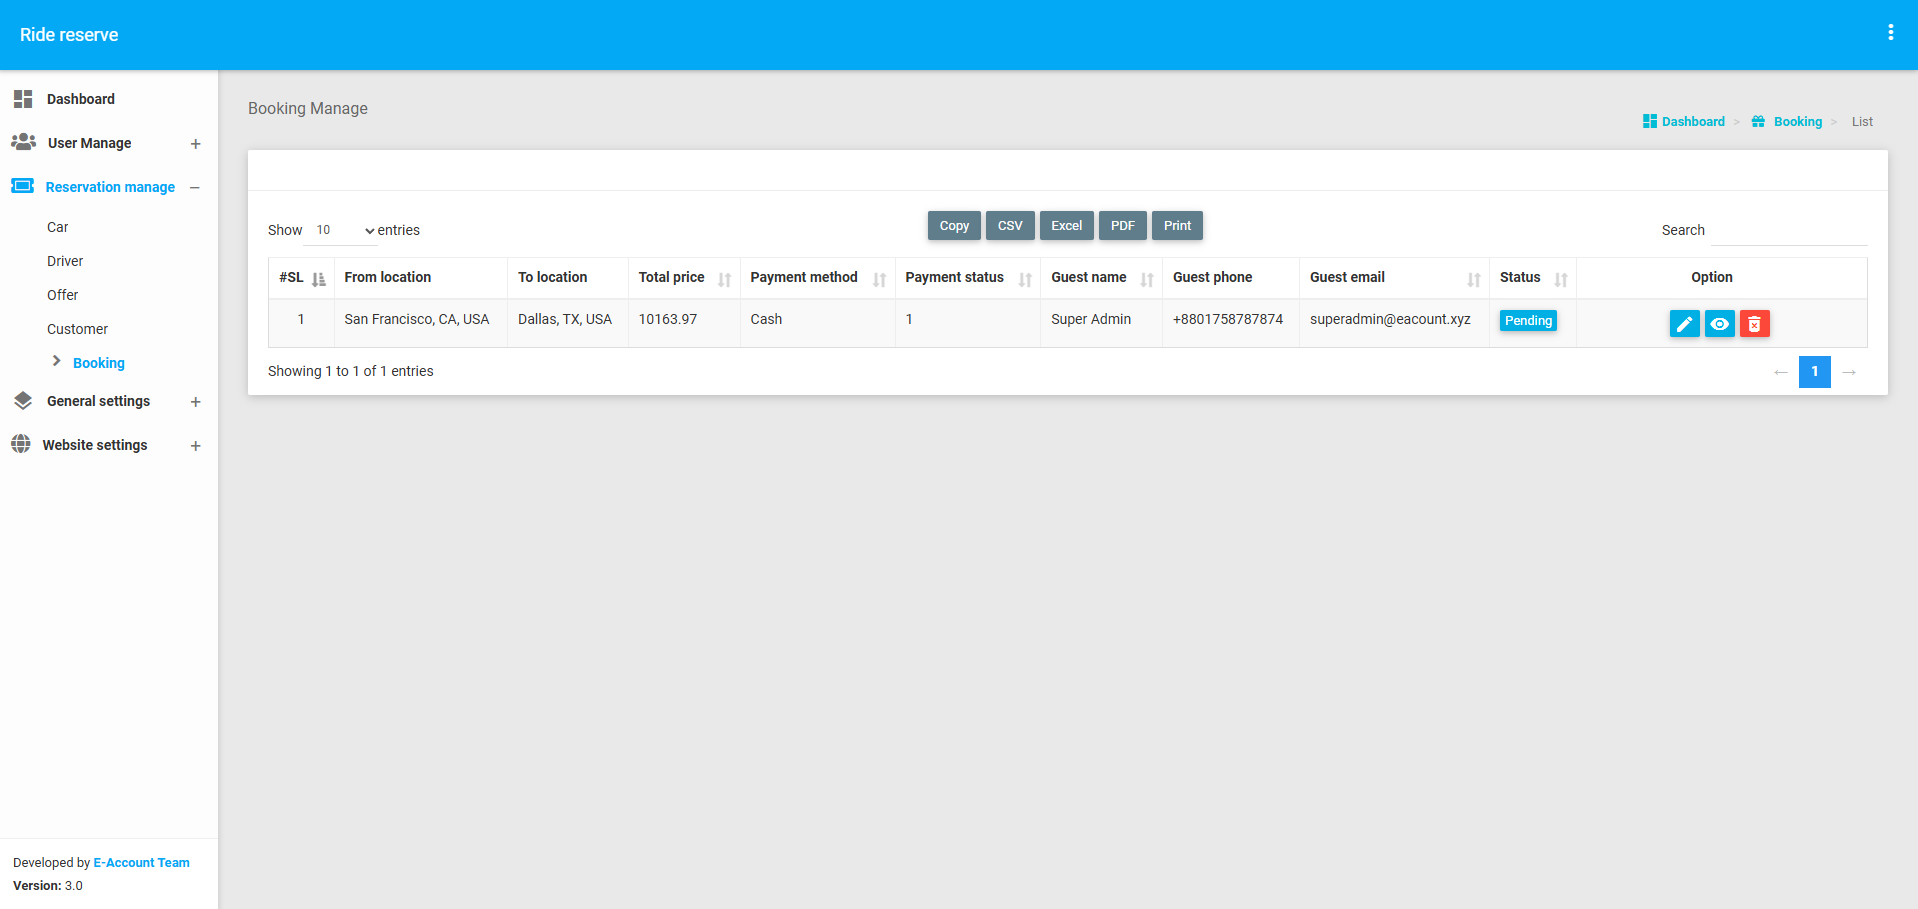
Booking
The Booking Section is the most important part of the Reservation Management module. It allows administrators to manage car reservations made by customers. Key functionalities include:
- Viewing Booking List: Admins can view a list of all bookings made by customers, including details such as car, driver, customer, and reservation dates.
- Viewing Booking Details: Admins can view detailed information about a specific booking, including customer details, car details, driver details, and offer details (if applicable).
- Marking Reservations as Complete: Once a reservation is completed, admins can mark it as "done" in the system.
This section ensures that all reservations are properly tracked and managed, providing a seamless experience for both customers and administrators.
General settings
The General Settings section is a centralized module for managing common functionalities and content that are used across the application. It includes modules for managing Country, Testimonial, Brand, and News. These modules allow administrators to add, edit, list, and view data that is often displayed on the web interface. This section ensures that the application's general settings and content are properly maintained and updated.
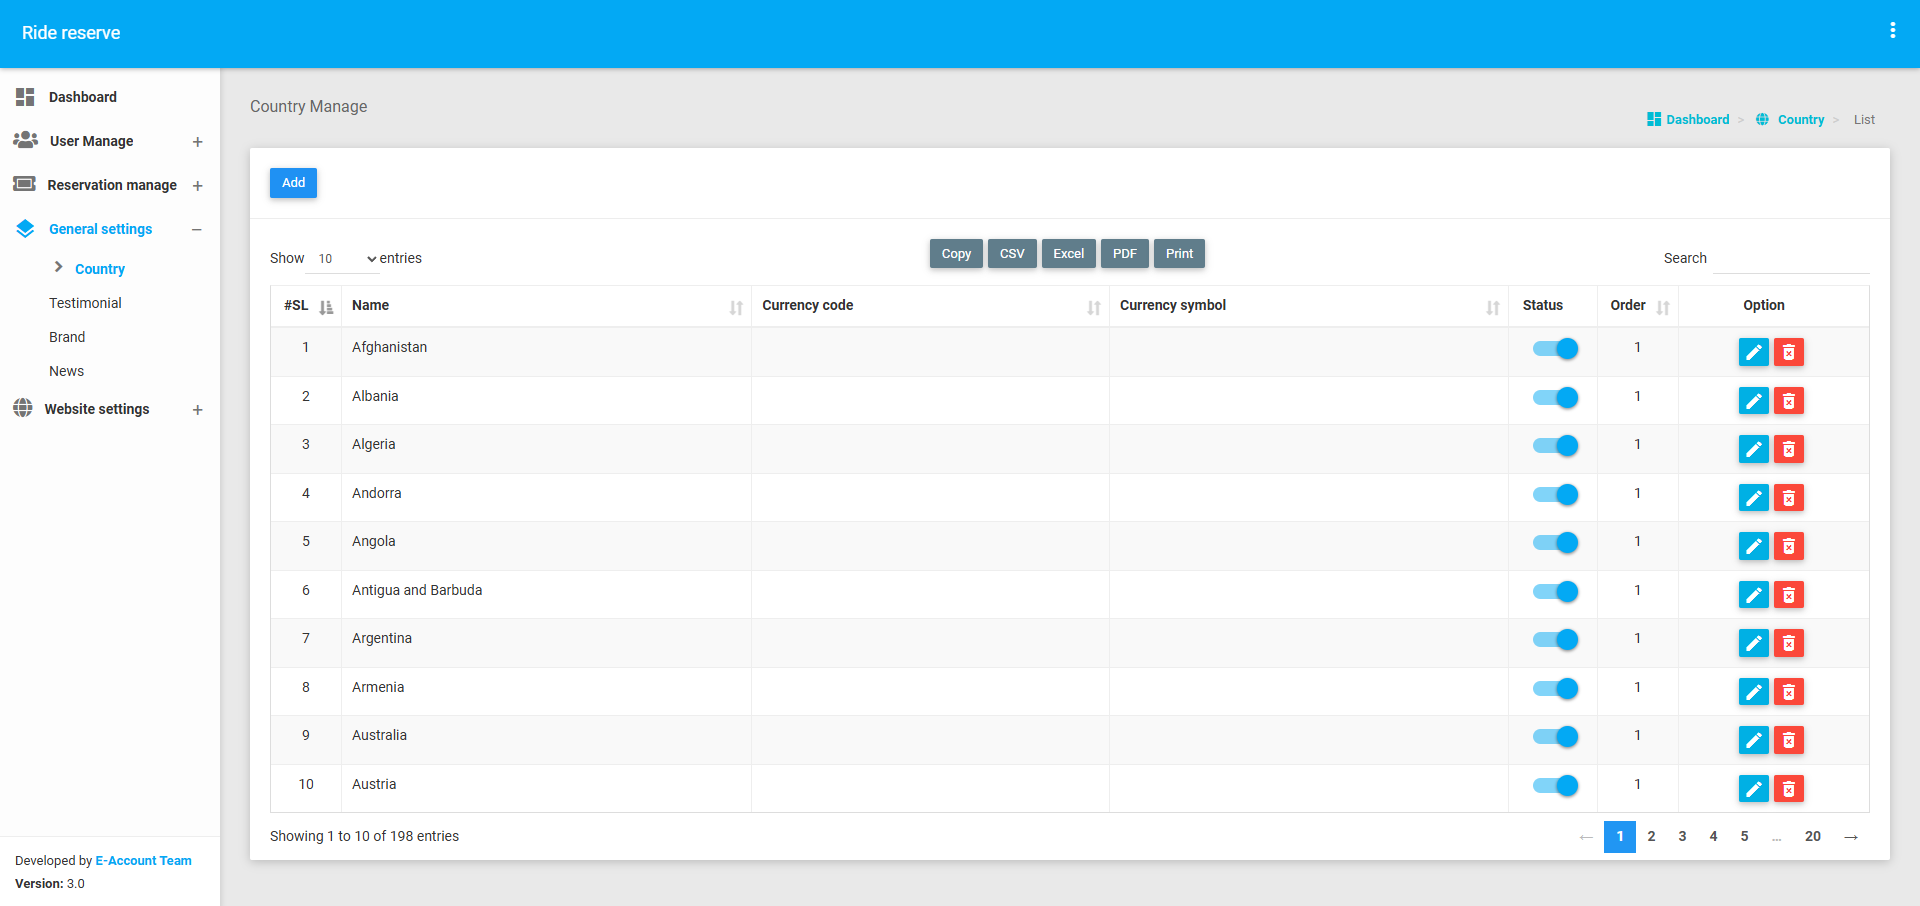
Country
The Country Module allows administrators to manage country-related information. This is particularly useful for applications that operate in multiple countries or require country-specific data. Key functionalities include:
- Adding a Country: Admins can add new countries by providing details such as country name, code, and other relevant information.
- Editing Country Information: Admins can update or modify country details as needed.
- Viewing Country List: Admins can view a list of all countries along with their details.
- Deleting a Country: Admins can remove a country from the list if it is no longer needed.
This module ensures that country-related data is properly maintained and accessible for use in other parts of the application.
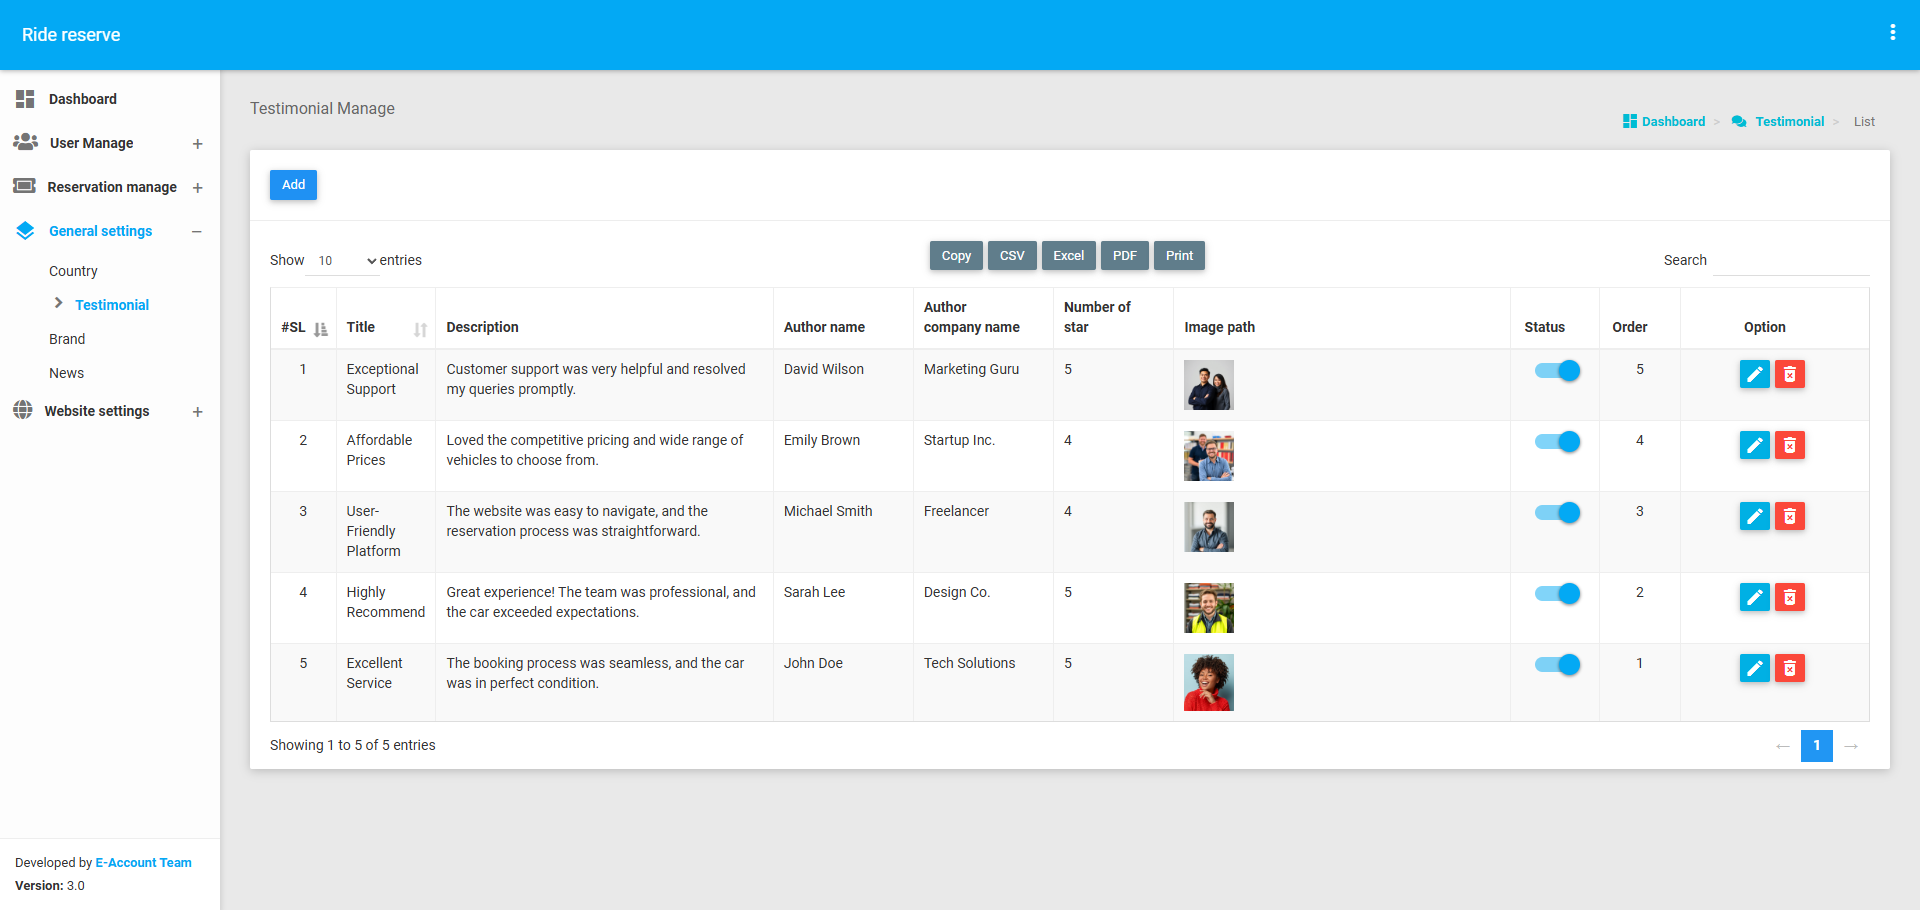
Testimonial
The Testimonial Module allows administrators to manage customer testimonials that are displayed on the web interface. Key functionalities include:
- Adding a Testimonial: Admins can add new testimonials by providing details such as customer name, testimonial text, rating, and other relevant information.
- Editing a Testimonial: Admins can update or modify testimonial details as needed.
- Viewing Testimonial List: Admins can view a list of all testimonials along with their details.
- Deleting a Testimonial: Admins can remove a testimonial from the list if it is no longer needed.
This module helps in showcasing positive customer feedback on the web interface, enhancing the application's credibility.
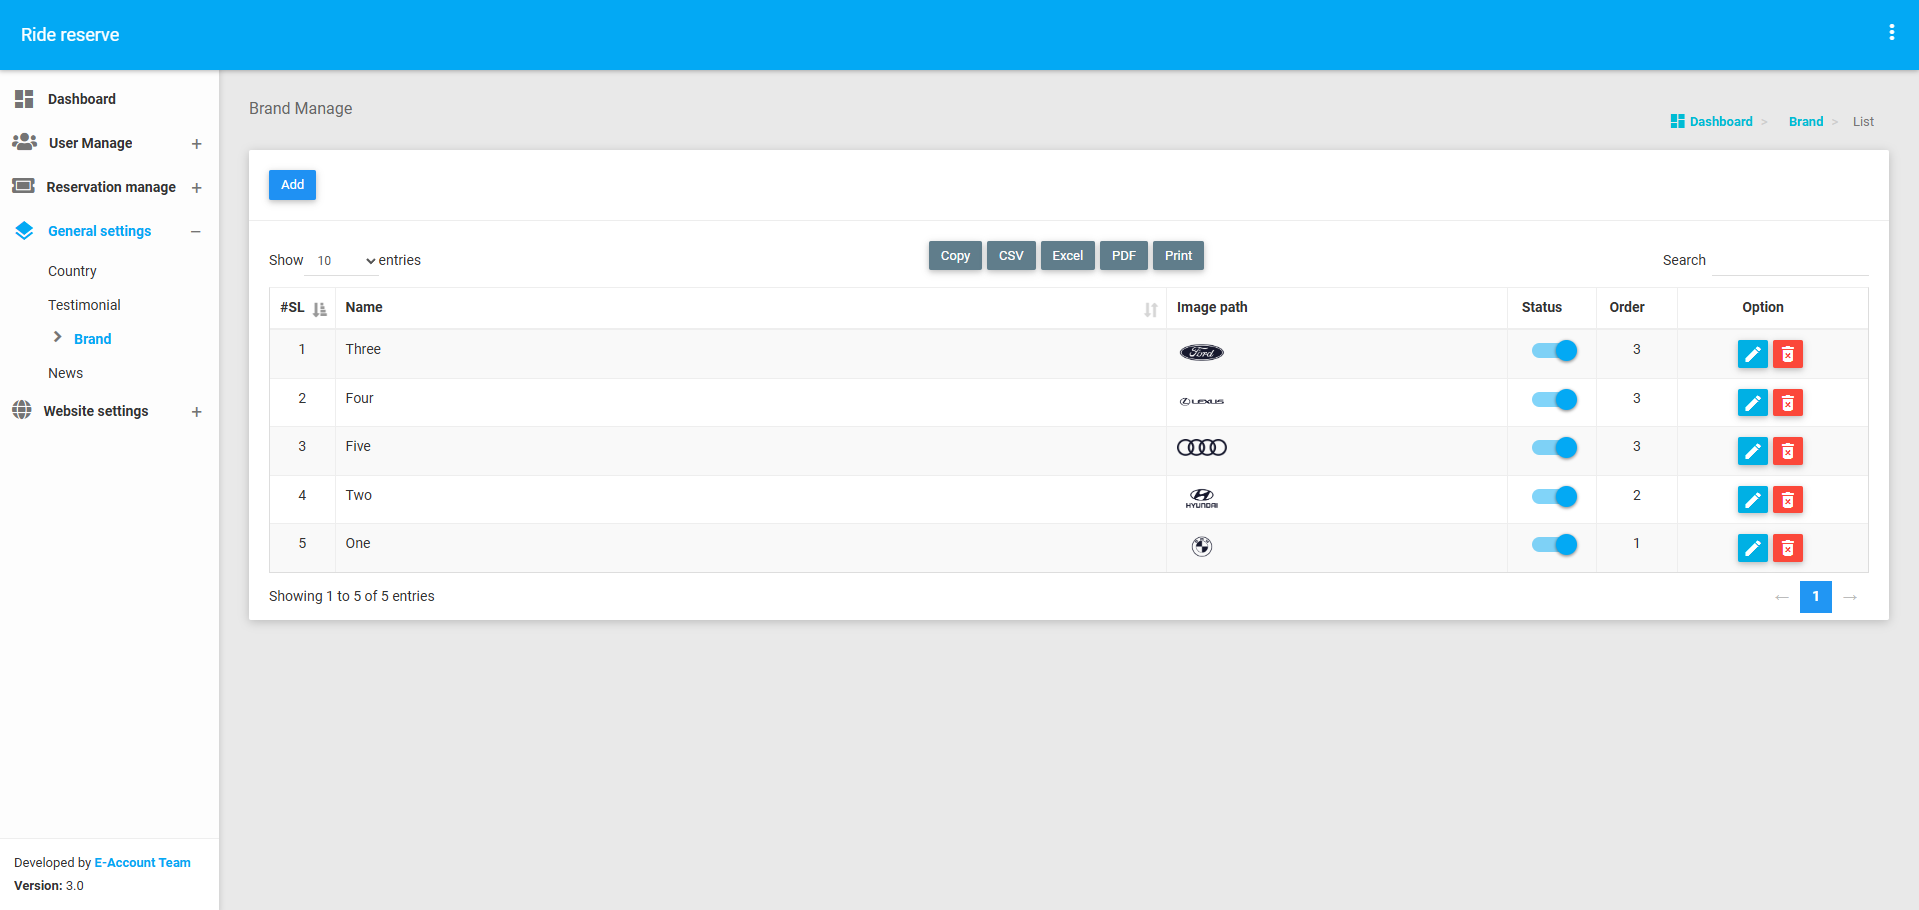
Brand
The Brand Module allows administrators to manage brand-related information. This is useful for applications that work with multiple brands or need to display brand information on the web interface. Key functionalities include:
- Adding a Brand: Admins can add new brands by providing details such as brand name, logo and other relevant information.
- Editing Brand Information: Admins can update or modify brand details as needed.
- Viewing Brand List: Admins can view a list of all brands along with their details.
- Deleting a Brand: Admins can remove a brand from the list if it is no longer needed.
This module ensures that brand-related data is properly maintained and displayed on the web interface.
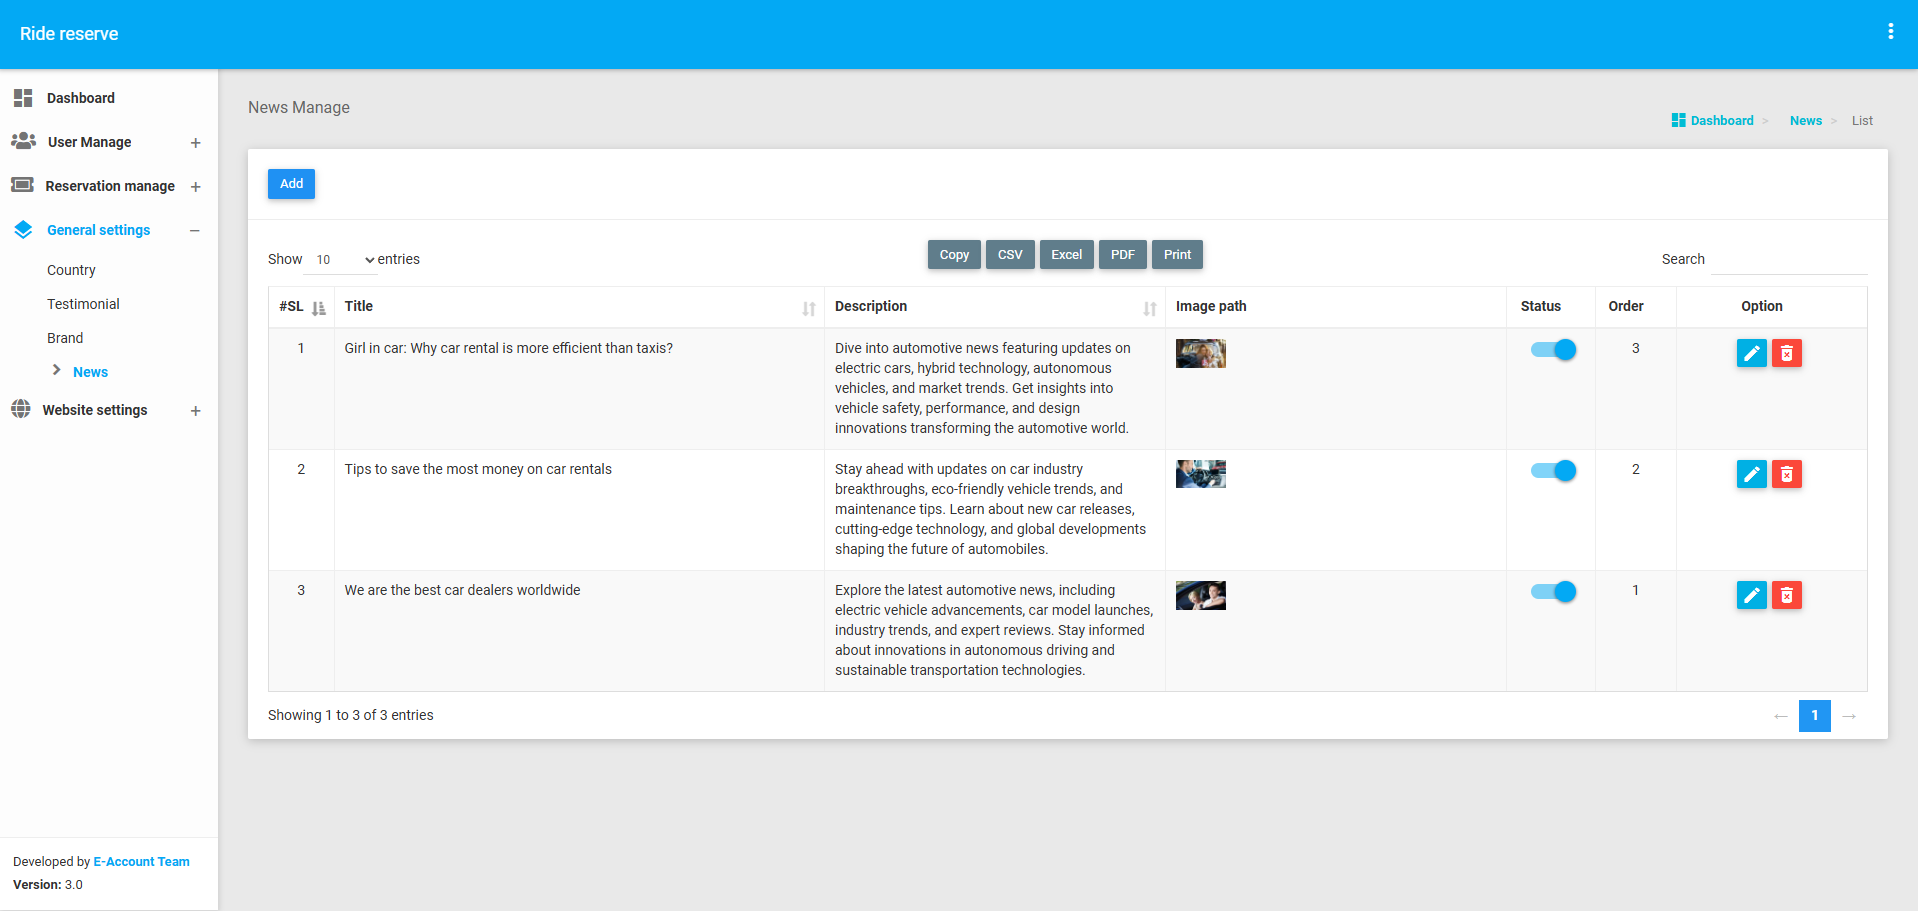
News
The News Module allows administrators to manage news articles or updates that are displayed on the web interface. Key functionalities include:
- Adding News: Admins can add new news articles by providing details such as title, description, image, publication date, and other relevant information.
- Editing News: Admins can update or modify news details as needed.
- Viewing News List: Admins can view a list of all news articles along with their details.
- Deleting News: Admins can remove a news article from the list if it is no longer needed.
This module helps in keeping the web interface updated with the latest news and updates, enhancing user engagement.
Website settings
The Website Settings module is a critical part of the application backend, allowing administrators to manage the website's content, navigation, and general configurations. It includes three main sections: Page, Menu, and General Settings. This module ensures that the website's content is dynamic, up-to-date, and easily manageable.
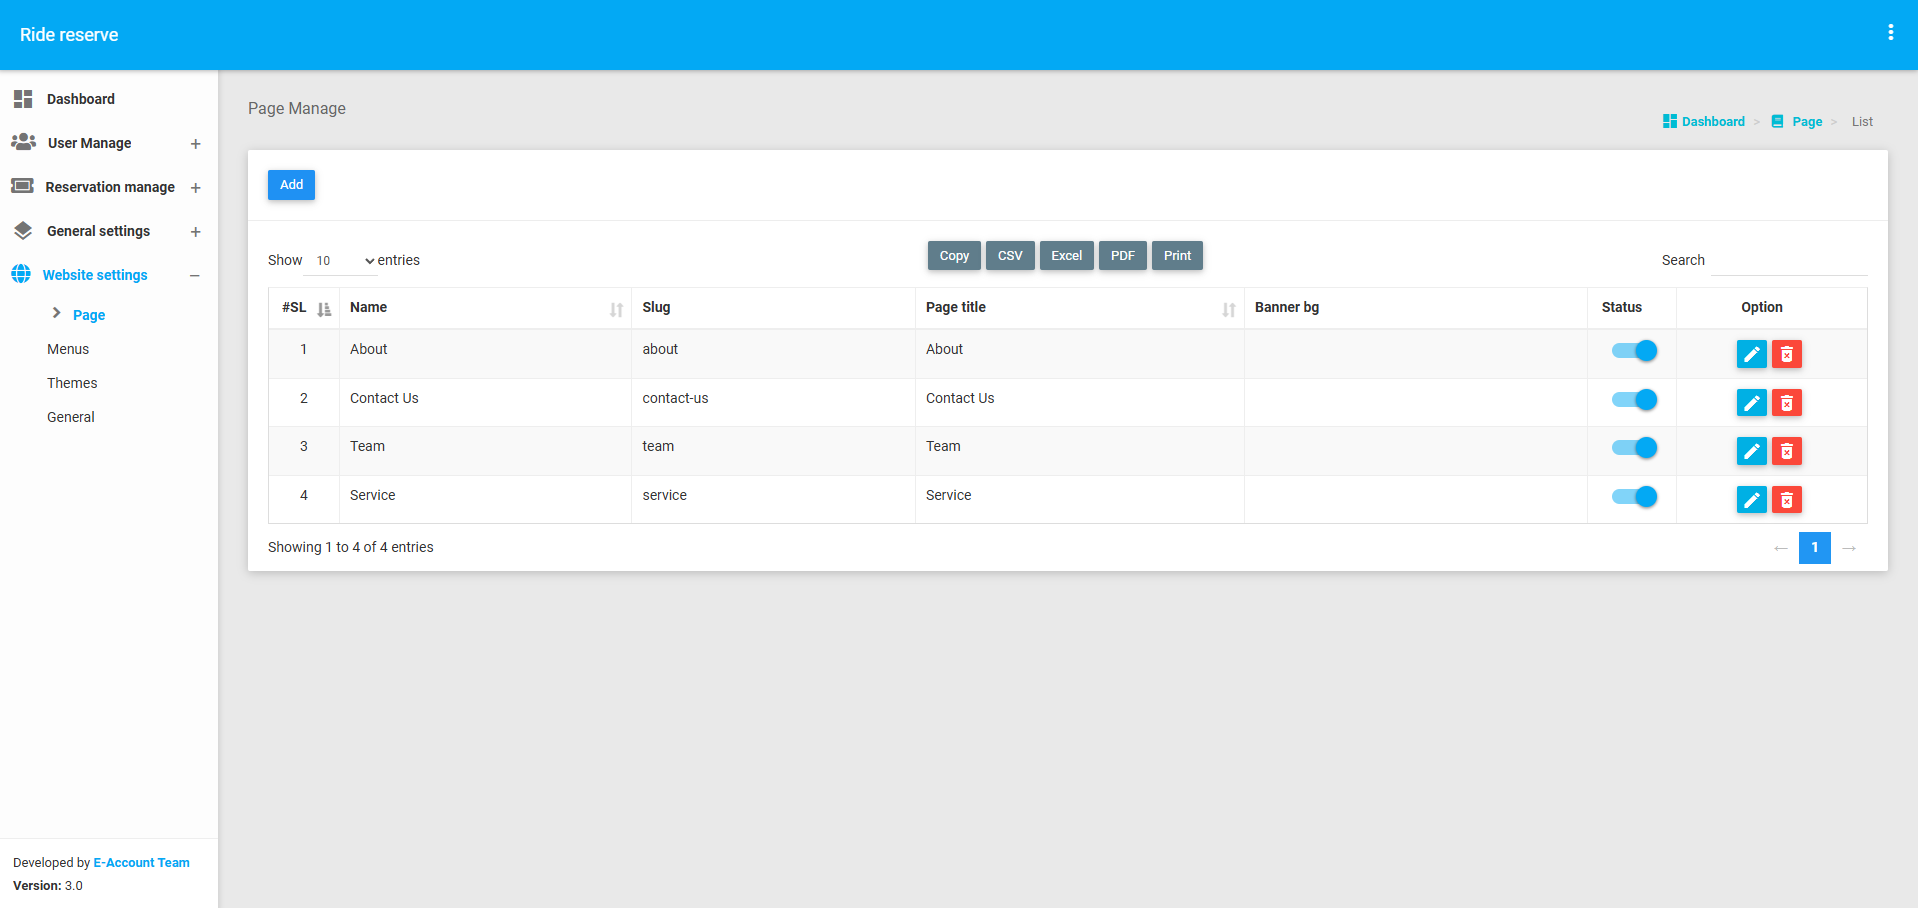
Page
The Page Section allows administrators to create and manage multiple pages for the website. Key functionalities include:
- Creating a Page: Admins can create new pages by providing details such as page name, slug (URL-friendly name), and content (to be displayed on the website).
- Editing a Page: Admins can update or modify page details, including content, as needed.
- Viewing Page List: Admins can view a list of all created pages along with their details.
- Deleting a Page: Admins can remove a page if it is no longer required.
This section ensures that the website's content is dynamic and can be updated easily without requiring technical expertise.
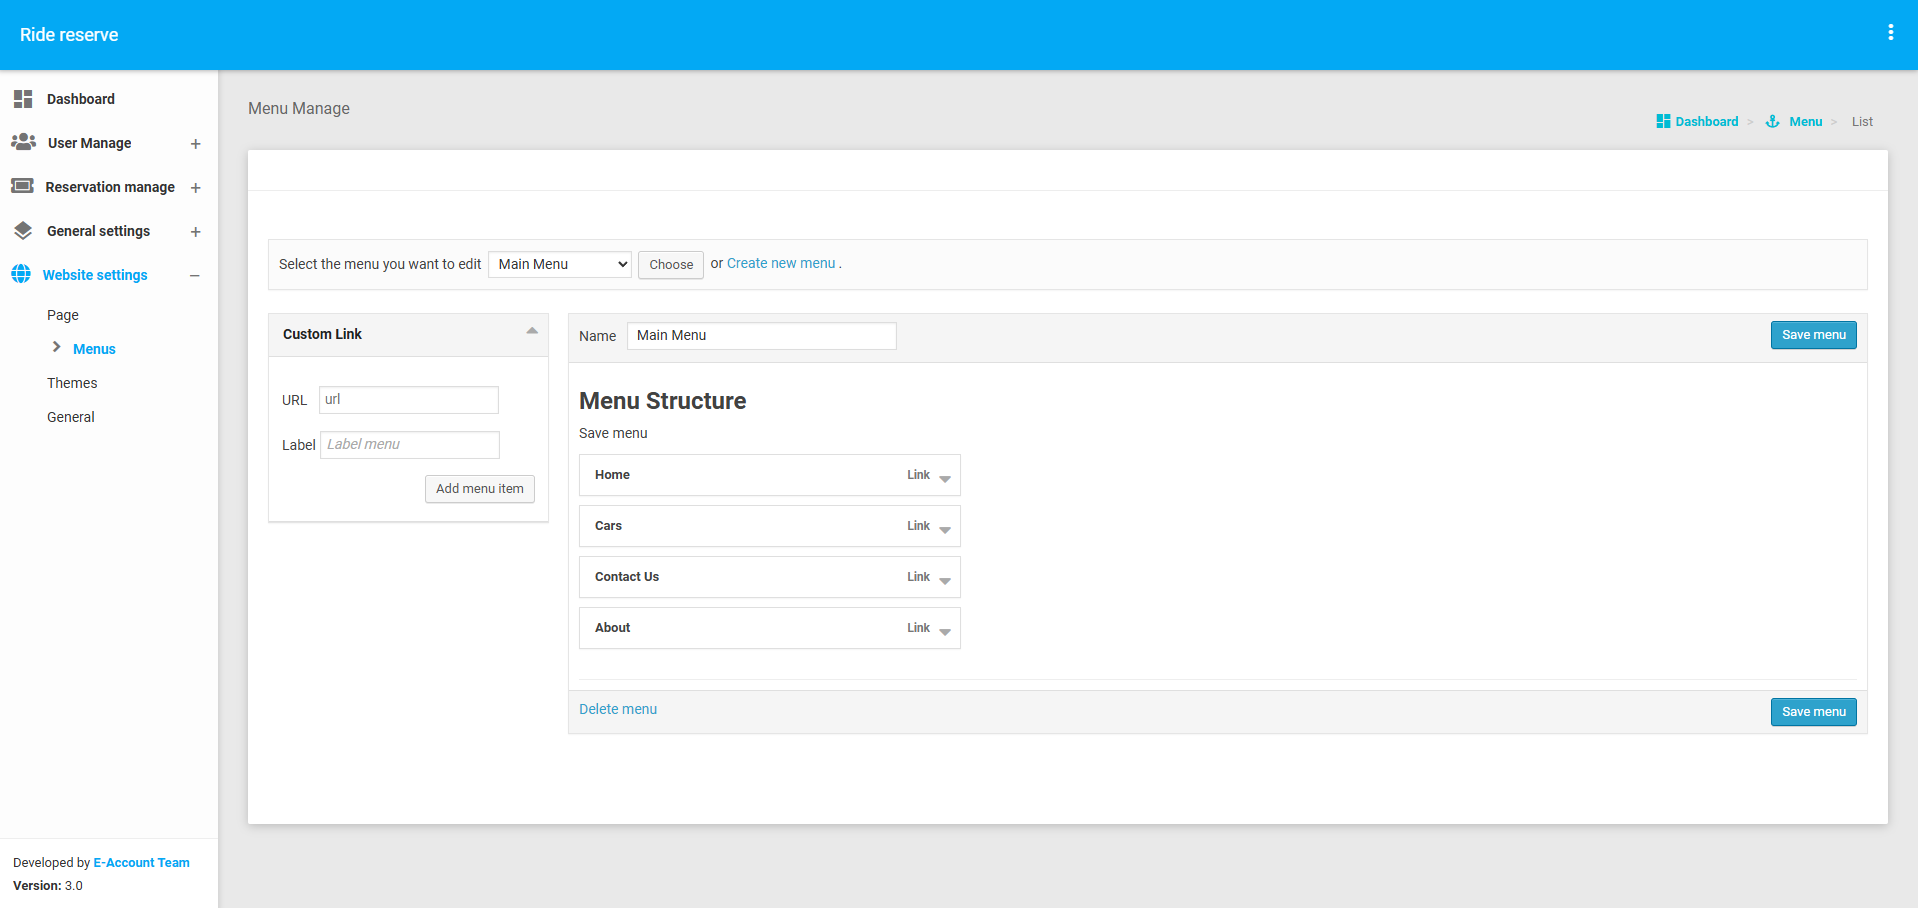
Menu
The Menu Section is a dynamic menu management system that allows administrators to organize and manage the website's navigation. Key functionalities include:
- Creating Menus: Admins can create multiple menus for the website.
- Adding Pages to Menus: Admins can add multiple pages (created in the Page Section) under each menu.
- Arranging Menu Items: Admins can arrange the order of menu items and sub-items for better navigation.
- Editing Menus: Admins can update or modify menu details, including adding or removing pages.
- Viewing Menu List: Admins can view a list of all menus along with their associated pages.
This section ensures that the website's navigation is user-friendly and dynamically managed.
General
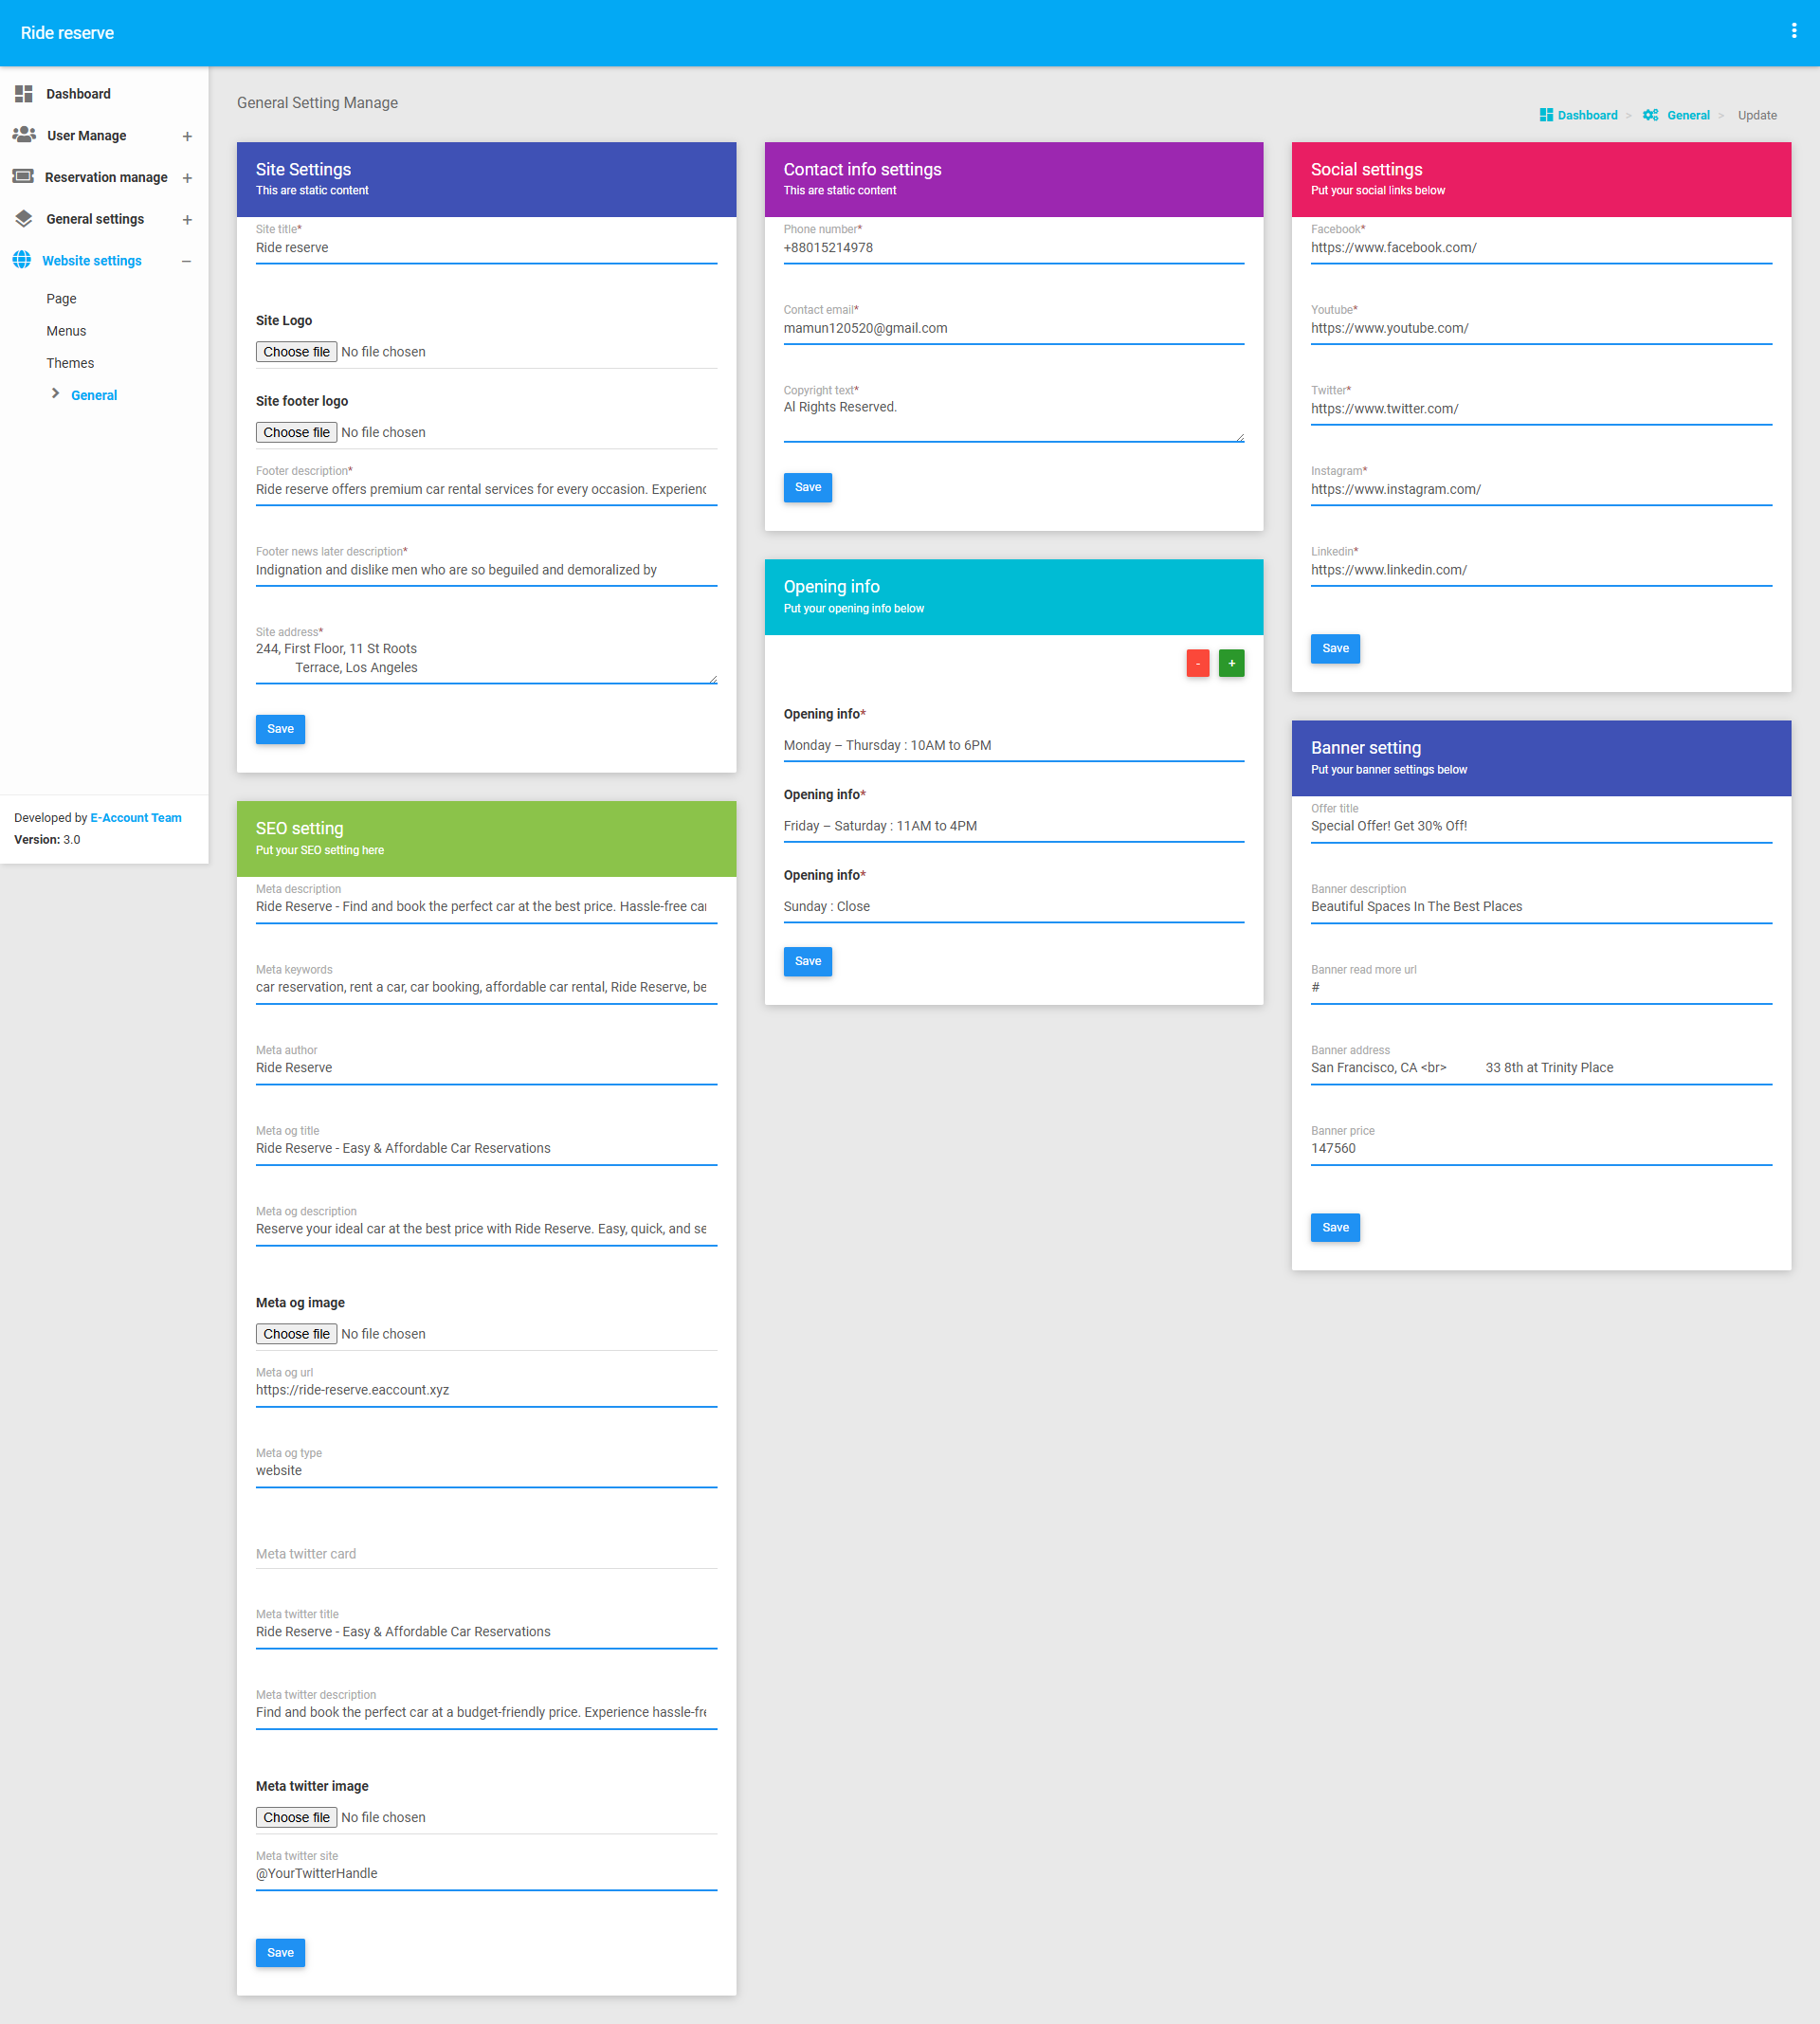
The General Settings section is the most significant part of the Website Settings module. It allows administrators to manage the website's overall configuration and appearance. It includes 5 subsections:
Site Settings- Functionality: Admins can update basic site information such as site name, logo, and footer text.
- Purpose: Ensures that the website's branding and basic information are consistent and up-to-date.
- Functionality: Admins can update contact details such as phone numbers, email addresses, and physical addresses.
- Purpose: Ensures that users can easily access the website's contact information.
- Functionality: Admins can add or update social media links (e.g., Facebook, Twitter, Instagram) for the website.
- Purpose: Enhances user engagement by providing easy access to the website's social media profiles.
- Functionality: Admins can add SEO-related information such as meta titles, meta descriptions, and keywords for the website.
- Purpose: Improves the website's visibility on search engines.
- Functionality: Admins can add or update banner information, including images, text, and links.
- Purpose: Enhances the website's visual appeal and provides a way to highlight important content or promotions.